
I used to be that person whose curly ponytail looked amazing for exactly twenty minutes. By lunch, I’d have sad, droopy curls and a headache from my hair elastic digging into my scalp. After way too many bad hair days and countless YouTube tutorials, I’ve finally cracked the code on curly ponytails that actually stay put. These five styles have saved me from so many hair disasters, and honestly, they’re way easier than they look.
What You’ll Need for Long-Lasting Curly Ponytails
Let’s be real — you probably have most of this stuff already. But there are a few game-changers that made all the difference for me:
- Spiral hair elastics (the clear phone cord looking ones — trust me on this)
- Bobby pins that actually match your hair color
- A rattail comb for clean parts
- Light-hold hairspray that won’t make your curls crunchy
- Texturizing spray or sea salt spray
- A silk scrunchie for backup (because sometimes you need the extra grip)
The spiral elastics were my biggest revelation. Regular hair ties just slide down curly hair, but these babies grip without the dent. I buy them in bulk now because I was tired of my ponytails giving up on me halfway through the day.
The High Drama Pony

This is my go-to when I need to look put-together but still want my curls to have personality. Start with day-two curls — they have better grip than freshly washed hair.
Flip your head upside down and gather all your hair at the very top of your head. I mean really high — higher than feels natural at first. Use your spiral elastic to secure it, then gently tug at the hair around your crown to add volume. The key is creating that lifted effect without making it look too perfect.
Here’s where I add my secret weapon: I twist small sections of the ponytail around my finger and scrunch them with a tiny bit of texturizing spray. This revives any curls that got stretched during the styling process.
I used to skip the volume step because I thought my curls were already big enough. Wrong! Without that intentional lift at the crown, even the highest ponytail looks flat within an hour.
Side-Swept Romance
This one’s perfect for date nights or when you want something softer. Create a deep side part with your rattail comb — and I mean deep. We’re talking almost at your ear level.
Gather your hair to one side at the nape of your neck, leaving some pieces loose around your face. The magic happens when you twist the ponytail slightly before securing it. This creates this gorgeous spiral effect that looks way more complicated than it actually is.
I always pull out a few face-framing pieces after I’ve secured the elastic. Face-framing techniques can completely change how this style flatters your features. Scrunch those loose pieces with your fingers to encourage the curl pattern.
The Messy Low Twist

When I say messy, I mean intentionally messy. This isn’t a “I just rolled out of bed” situation — it’s controlled chaos, and it’s become my signature weekend look.
Part your hair in the middle and loosely twist each side back toward your ears. Don’t worry about making the twists perfect — wonky is better here. Gather everything at the base of your neck and secure with your spiral elastic.
Now comes the fun part. Gently tug at the twists to loosen them and create more volume. Pull out some pieces around your hairline. The goal is to look effortlessly undone, not like you spent an hour in front of the mirror.
Braided Crown Into Pony
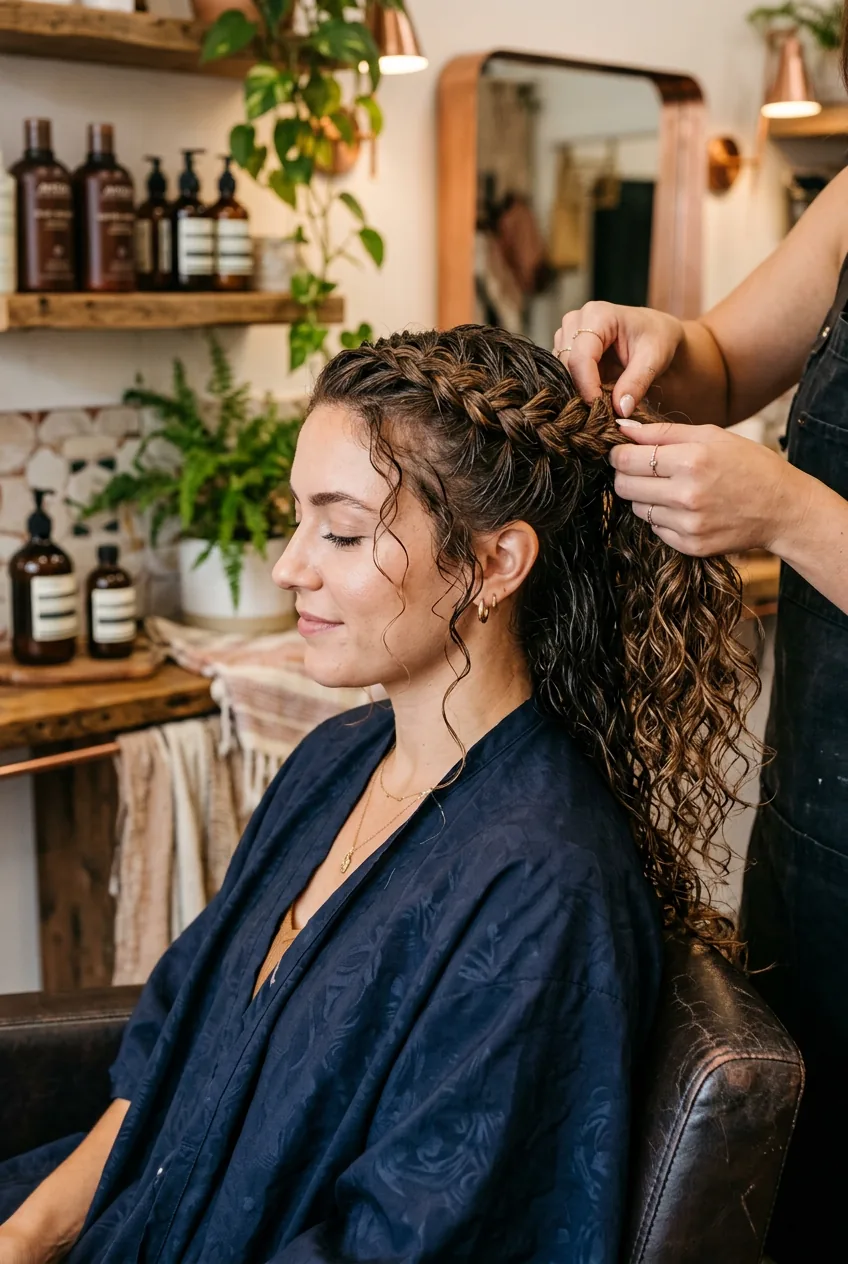
This style makes me feel like a bohemian princess, and it’s surprisingly practical for keeping flyaways under control. Start with a small section at your temple and create a loose Dutch braid that curves along your hairline.
Don’t stress if your braid isn’t perfect — mine never is, and it actually looks better that way. When you reach your ear, secure the braid with a clear elastic and gather the rest of your hair into a low ponytail, incorporating the braided section.
The braid acts like a natural headband and gives you somewhere to hide bobby pins if you need extra security. Plus, it works beautifully with wavy textures if your curls are more on the loose side.
Double Elastic Magic
This trick changed my life. Seriously. If you have heavy, thick curls that always drag your ponytail down, this is your new best friend.
Create your ponytail as usual with the first spiral elastic. Then, about two inches down the length of your ponytail, add a second elastic. This breaks up the weight and prevents that dragging effect that makes curly ponytails look sad and droopy.
You can even add a third elastic if your hair is super long. The key is spacing them evenly and making sure they’re not too tight — you want to maintain the bounce in your curls, not squeeze the life out of them.
I learned about weight distribution techniques from a stylist who specializes in textured hair, and it completely transformed how my ponytails hold up during long days. The difference is honestly night and day.
My biggest mistake with the double elastic method was placing the second band too close to the first one. It created this weird bulge effect that looked more awkward than stylish. Now I measure with my fingers — about two finger-widths apart works perfectly.
After months of trial and error (and way too many ponytail failures), these five styles have become my reliable rotation. My curls stay bouncy, my ponytails don’t slide, and I actually get compliments instead of spending my day readjusting my hair. The spiral elastics alone were worth the investment, but learning to work with my curl pattern instead of fighting it? That was the real game-changer. Now I look forward to putting my hair up instead of dreading the inevitable afternoon slump.