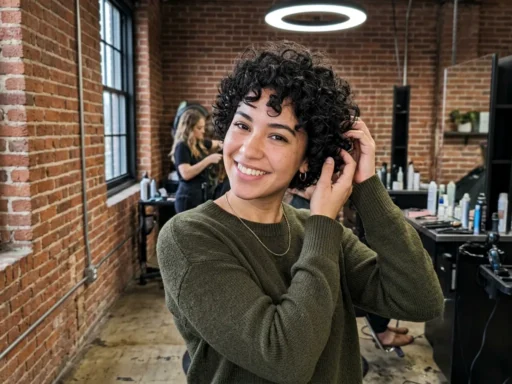

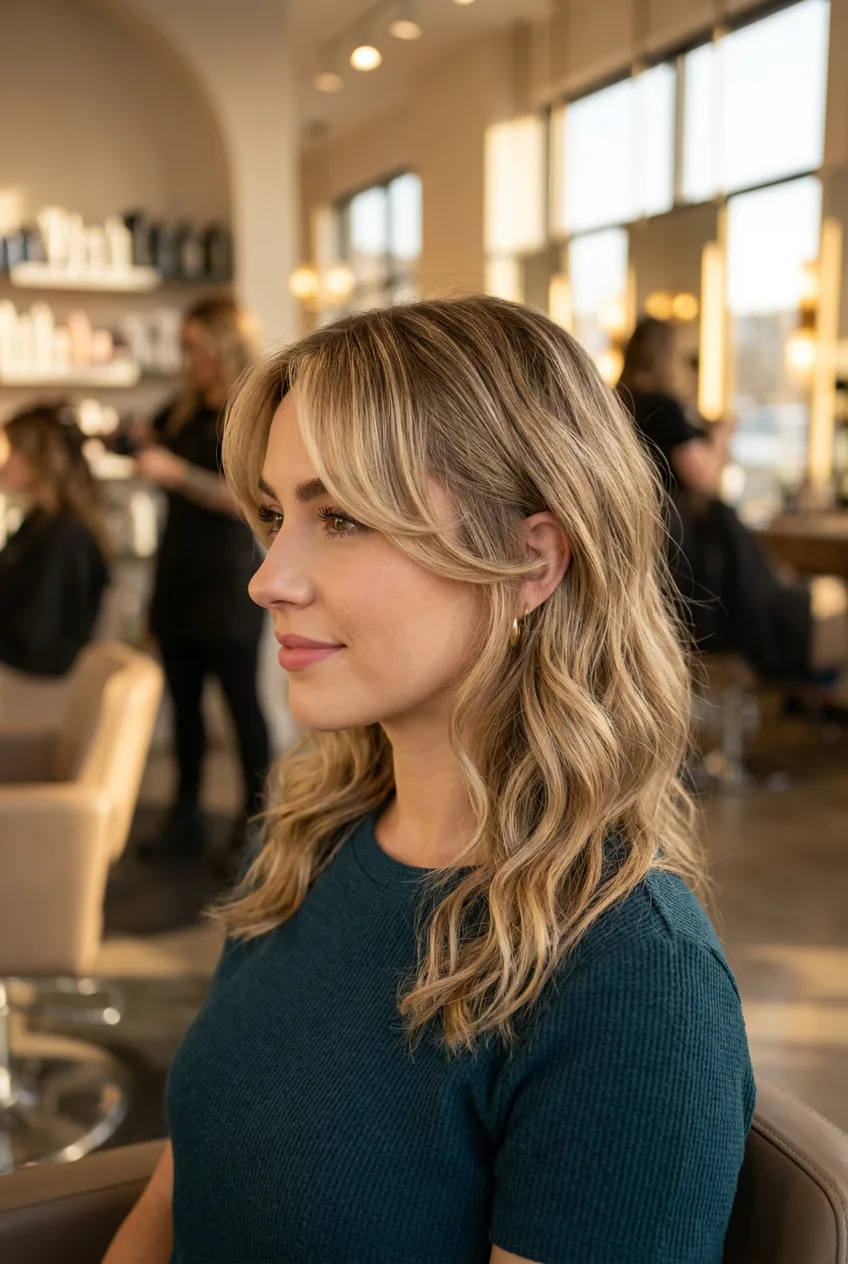
I’ve had curtain bangs for two years now, and let me tell you — the first six months were rough. Like, really rough. I spent way too much time watching YouTube tutorials that made it look effortless, only to end up with flat, stringy pieces that hung limply around my face. But after countless trial-and-error sessions (and one very patient hairstylist who finally showed me what I was doing wrong), I’ve got this down to a science.
What You’ll Need for Perfect Curtain Bangs
Here’s the thing about curtain bangs — you don’t need a ton of fancy products, but the few you do need are absolute game-changers. I learned this the hard way after buying every volumizing mousse at Target.
- A good round brush (I swear by a 2-inch barrel)
- Heat protectant spray — this is non-negotiable
- Lightweight hair oil or serum
- Hair dryer with a concentrator nozzle
- Texturizing spray for that lived-in look
- A tail comb for precise parting
The round brush size matters more than you think. Too small and your bangs will look too curly. Too big and you won’t get enough lift at the roots.
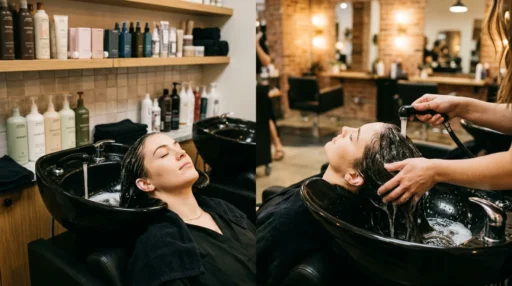
Start with Damp (Not Soaking) Hair

This step used to trip me up constantly. I’d either start with bone-dry hair (which never held the style) or hair that was too wet (which took forever to dry and looked flat).
After washing, gently squeeze out excess water with a microfiber towel. Your bangs should feel slightly damp to the touch but not dripping. Think “damp t-shirt” level, not “just got caught in the rain.”
Apply your heat protectant now — just to the bangs, not your whole head. I like to work it through with my fingers, making sure every strand is coated. Good heat protection makes all the difference in preventing that crispy, over-styled look.
The Round Brush Game Changer
This is where the magic happens. And honestly, where I messed up for months before my stylist showed me the right technique.
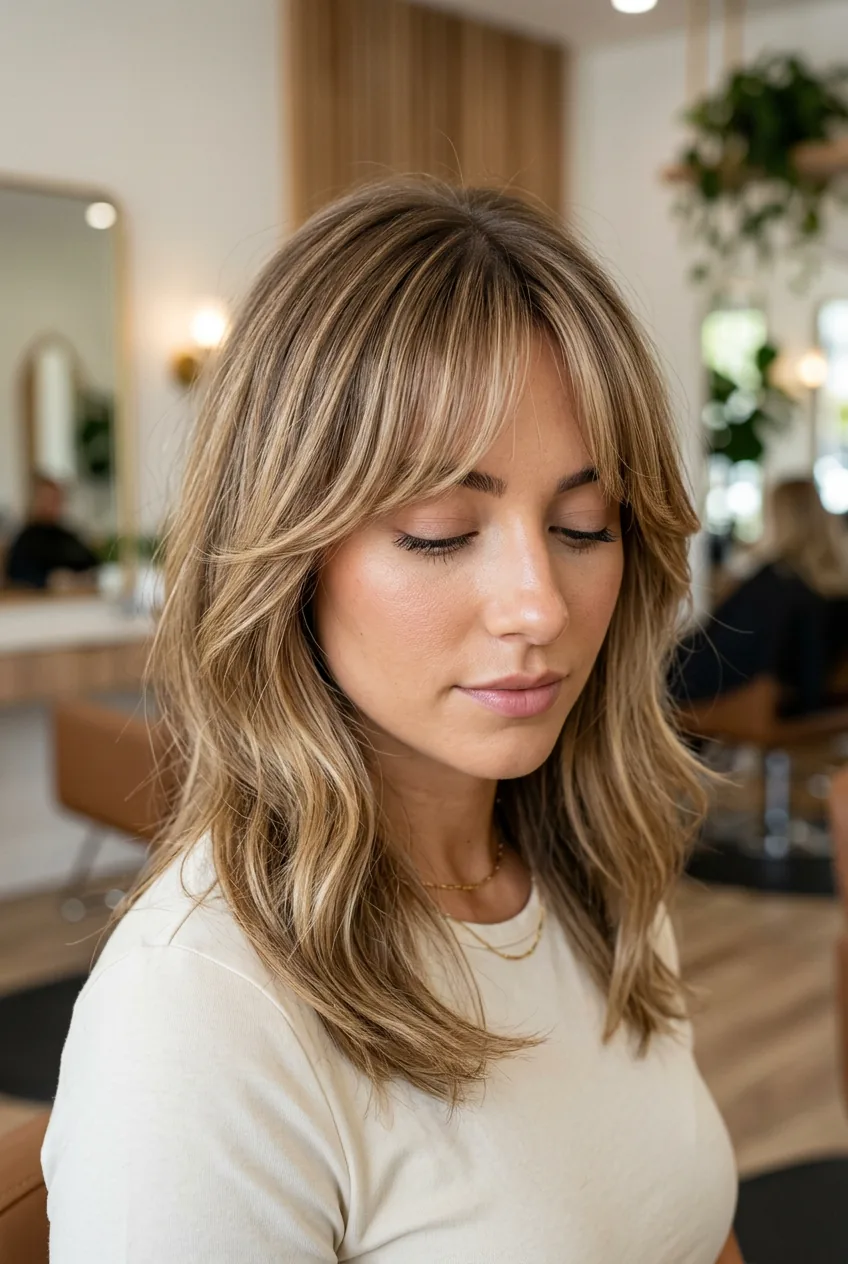
Start by sectioning your bangs down the middle with your tail comb. The part doesn’t have to be perfect — curtain bangs are supposed to look effortless, remember?
Take your round brush and place it under one section of bangs at the root. Here’s the key: lift UP and slightly back, then roll the brush under and sweep it to the side. You’re creating that soft curve that makes curtain bangs look so dreamy.
My biggest mistake was trying to curl the bangs too much. I’d roll that brush like I was making ringlets, and then wonder why I looked like I time-traveled from 1985. Less is more — you want a gentle bend, not a full curl.
Repeat on the other side, sweeping away from your face. The whole process should take maybe two minutes per side once you get the hang of it.
Watch the Technique in Action
Heat Styling Without the Damage
I used to blast my bangs with the highest heat setting because I thought it would make them hold better. Wrong move. Medium heat is your friend here.
While you’re rolling with the round brush, follow it with your hair dryer’s concentrator nozzle. The airflow should go from root to tip, following the brush’s movement. This helps lock in that smooth, swept shape.
Here’s a pro tip I wish someone had told me earlier: once you’ve styled one section, hit it with a blast of cool air for about 10 seconds. This sets the style and makes it last so much longer. Face-framing cuts like curtain bangs need that extra staying power.
Protecting your hair from heat is crucial if you’re styling daily like I do.
Finishing Touches That Make All the Difference
The styling part is done, but these final steps are what separate amateur-hour bangs from salon-worthy ones.
First, run a tiny amount of hair oil through your fingers and gently smooth over the bangs. I’m talking a drop the size of a pinhead — any more and you’ll look greasy. This adds shine and tames any flyaways.
Then comes my secret weapon: texturizing spray. A light mist gives that perfectly imperfect, lived-in texture that makes curtain bangs look natural instead of overly styled. Textured styles always look more modern and effortless.
Finally, use your fingers to gently separate the pieces and create that soft, feathered look. Don’t overthink this part — a few strategic finger-combs and you’re done.
It took me way too long to figure out how to style curtain bangs properly, but now that I have the technique down, I genuinely love how they frame my face. The key is really in that round brush technique and not overdoing the heat or products. My bangs actually hold their shape all day now, and I get compliments on them regularly — something that definitely wasn’t happening during my early, disastrous attempts. Once you nail the method, you’ll wonder why you ever struggled with it in the first place.