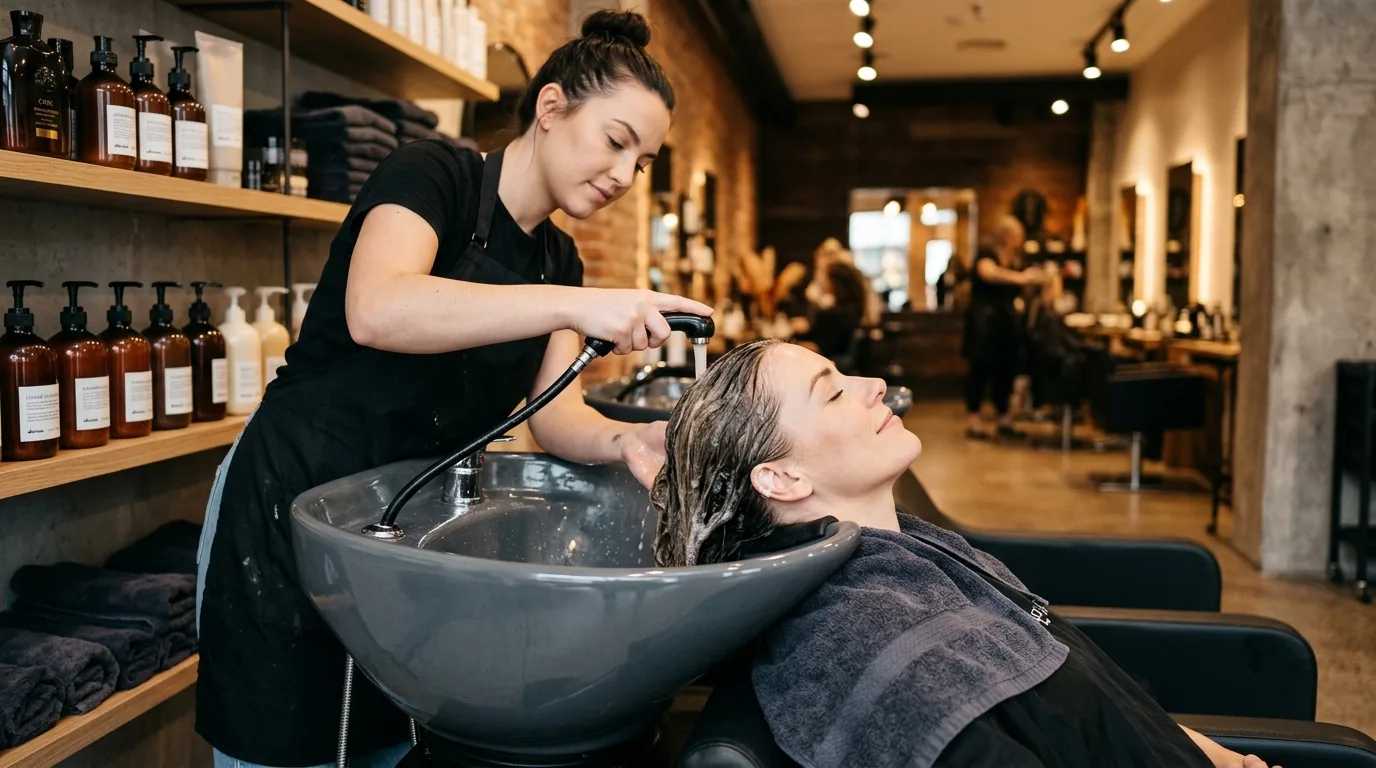
I spent years watching my fine hair fall flat against my head, especially when I tried to grow it out. Every time I’d hit that awkward shoulder-length phase, my hair would just… hang there. Then I discovered the magic of long bob layers, and honestly, it changed everything. My hair suddenly had bounce, movement, and looked twice as thick as it actually was.
Understanding What Works for Fine Hair
Fine hair is tricky because it lacks natural volume and tends to get weighed down easily. When I first started experimenting with long bobs, I made the mistake of keeping all my layers the same length — which just gave me a blunt cut that emphasized how thin my hair actually was.
The key with long bob layers for fine hair is creating strategic weight removal. You want layers that add movement without making your hair look sparse. I learned this the hard way after a few not-so-great salon experiences.
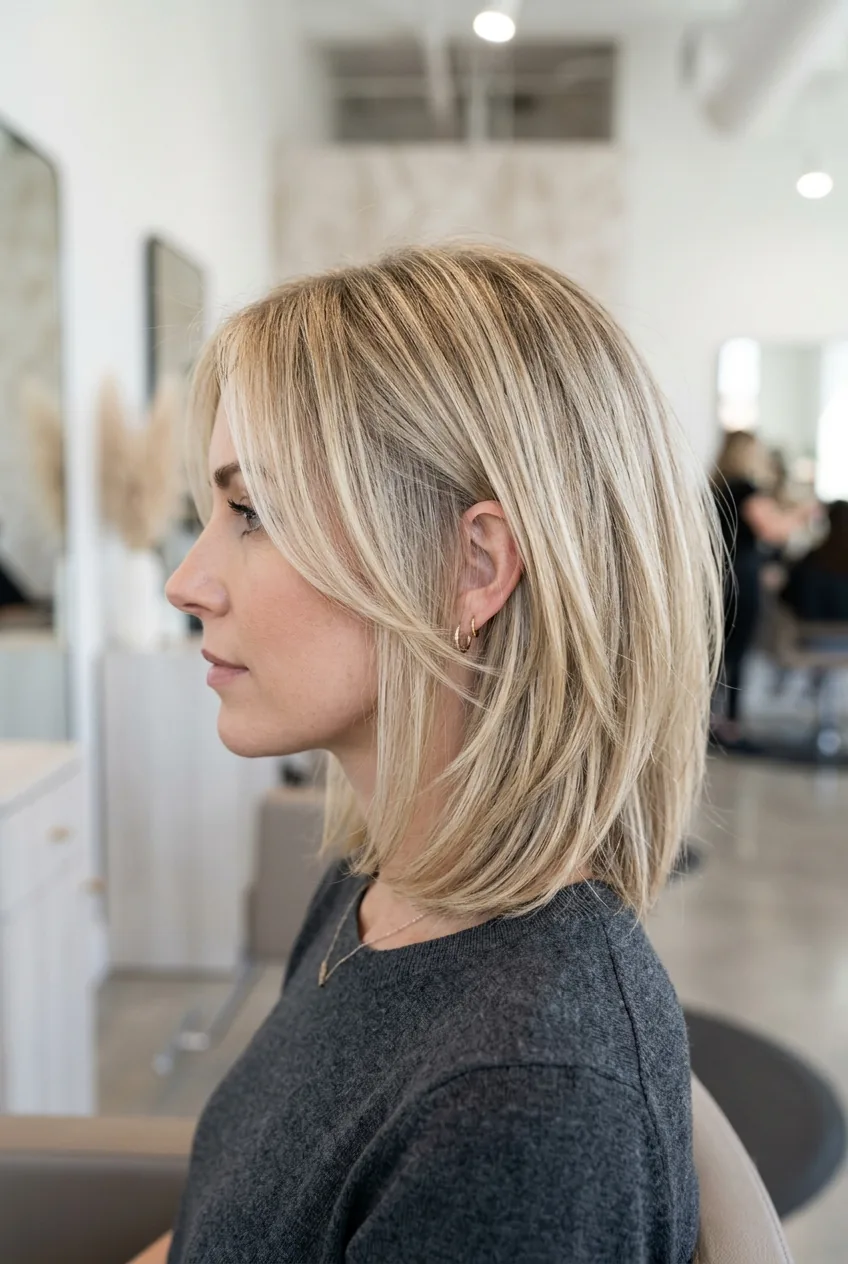
What makes layered lobs perfect for fine hair is that they create the illusion of thickness while maintaining enough length to feel feminine. The layers catch light differently and create shadows that make your hair appear fuller.
What You’ll Need for This Cut
I always recommend finding a stylist who understands fine hair, but if you’re feeling brave enough to try this at home (like I did during lockdown), here’s what worked for me:
- Sharp haircutting shears — dull scissors will create split ends
- A fine-tooth comb for precise sectioning
- Hair clips to section off your hair
- A handheld mirror to check the back
- Texturizing shears (optional but helpful)
- Good lighting — I learned this one the hard way
The most important thing? Take your time. I rushed my first attempt and ended up with uneven layers that took months to grow out.
Step 1: Finding Your Perfect Length
This step is crucial because the wrong length can make fine hair look even thinner. I’ve found that for most face shapes, the sweet spot is somewhere between your collarbone and just above your shoulders.
Start by putting your hair in a low ponytail and sliding the elastic down to where you think you want to cut. Look at yourself from different angles. Does this length make your neck look longer? Does it hit at a flattering spot on your face?
I made the mistake of cutting my bob too short the first time — right at my jawline — and it made my fine hair look like a helmet. Trust me, err on the side of longer initially.
For fine hair specifically, I recommend starting about an inch longer than you think you want. You can always go shorter, but you can’t add length back.
Step 2: Creating the Foundation Cut
Now comes the actual cutting. Section your hair horizontally from ear to ear, and clip the top section up. You’ll work from bottom to top.
Cut the bottom section straight across, but here’s my trick: cut it about a quarter-inch longer in the back than in the front. This creates a subtle angle that prevents the dreaded triangle shape that fine hair tends to form.
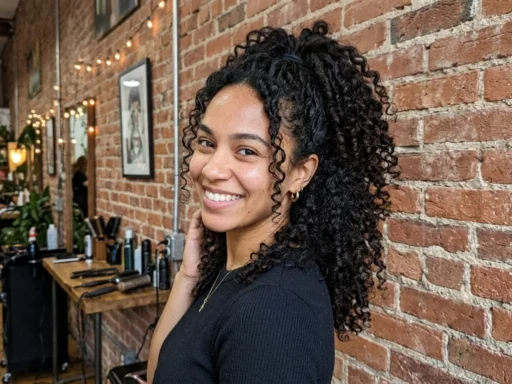
When I work on clients with similar hair to mine (yes, I eventually went to cosmetology school after all my DIY experiments), I always check that the perimeter is even by having them look down. Short curly cuts for natural curls taught me how important it is to work with your hair’s natural fall.
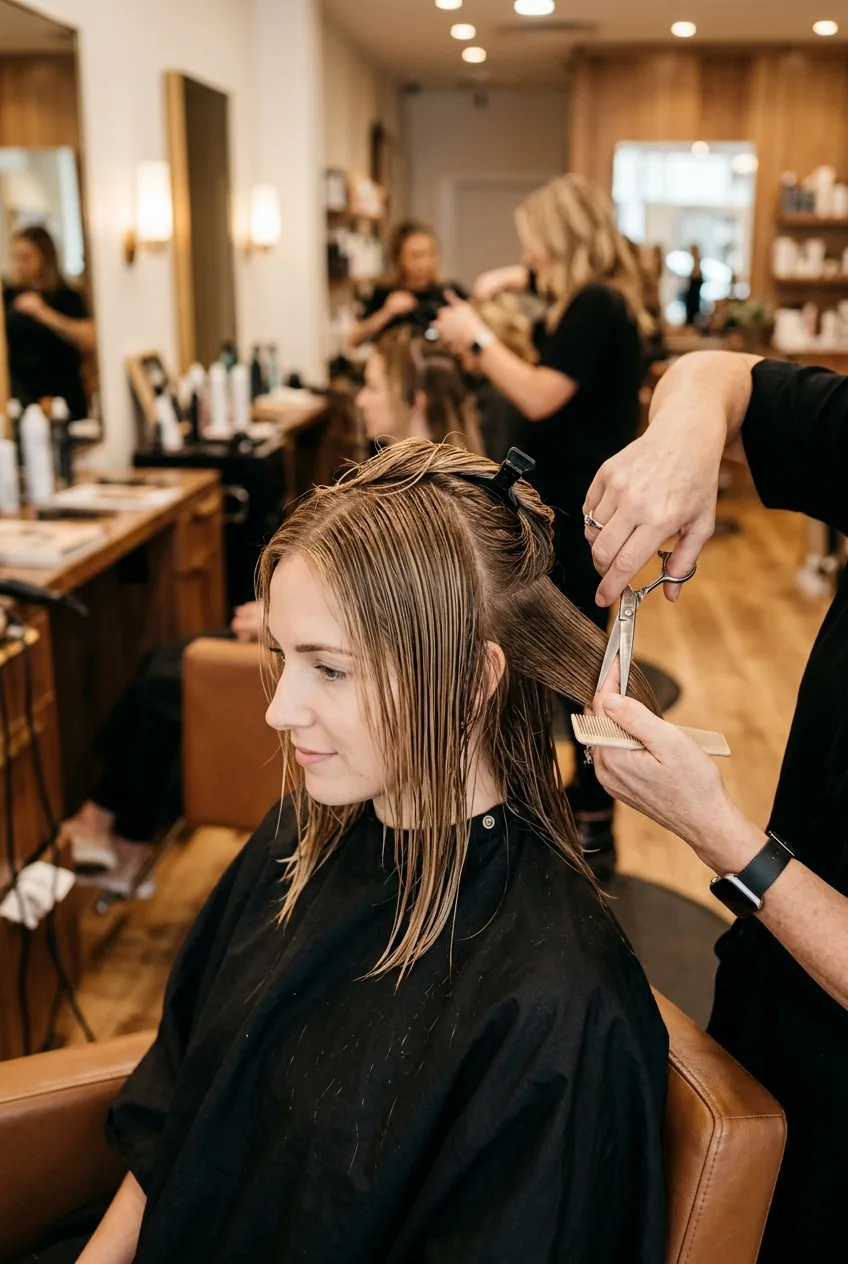
Step 3: Adding Strategic Layers

This is where the magic happens. The key to layering fine hair is being conservative — you want to add movement without removing too much weight.
Take small horizontal sections starting from the nape of your neck. Each layer should be only about half an inch shorter than the one below it. I like to think of it as creating a very gentle graduation rather than dramatic steps.
Focus your shortest layers around your face — this is where you want the most movement and volume. The layers should start around your cheekbones and blend seamlessly into the longer lengths.
One technique I love is point cutting. It creates softer edges than blunt cutting and helps fine hair look less severe.
Step 4: Texturizing for Movement
Here’s where texturizing shears become your best friend. But be careful — it’s easy to go overboard and make fine hair look stringy.
I only texturize the mid-lengths and ends, never near the roots where you want to maintain density. Take small sections and make tiny cuts into the hair shaft — this creates natural-looking texture without removing too much weight.
The goal is to break up any bluntness that might make your hair look too heavy or geometric. Think of it as adding controlled randomness to mimic how naturally thick hair grows.
Watch the Texturizing Magic Happen
Styling Your New Layered Lob
The best part about a well-cut layered lob on fine hair? It practically styles itself. I usually just scrunch in some lightweight mousse while my hair is damp and let it air dry.
For more polish, I’ll use a large barrel curling iron on just the face-framing pieces. The layers make it so easy to create that effortless, lived-in texture that looks like you spent way more time on it than you actually did.
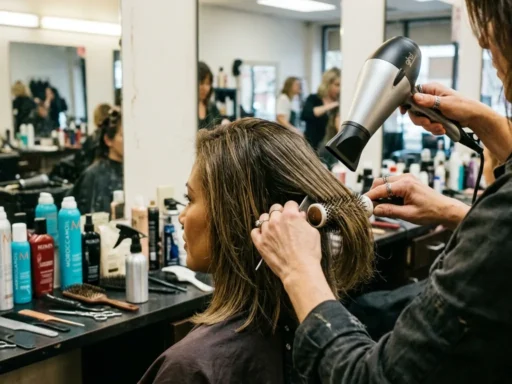
When I want extra volume, I flip my head upside down and scrunch while blow-drying. The layers catch the air and create natural lift that my old one-length hair never could.
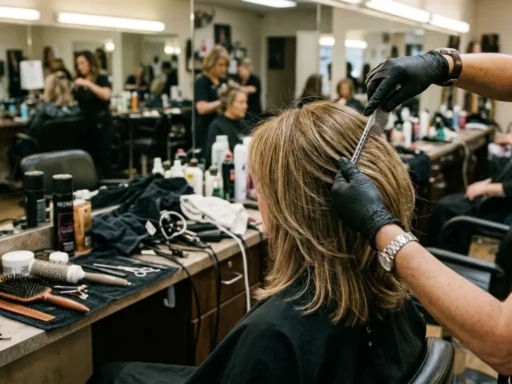
I’ve also discovered that bold hair colors that actually work on every skin tone look incredible with this cut — the layers create dimension that makes any color look more expensive.
After months of perfecting this technique, I finally have the bouncy, voluminous hair I always wanted. My fine hair no longer looks limp or lifeless — instead, it has movement, body, and actually looks like I have twice as much hair as I really do. The compliments haven’t stopped coming, and honestly, I feel more confident than I have in years. Sometimes the right cut really can change everything.