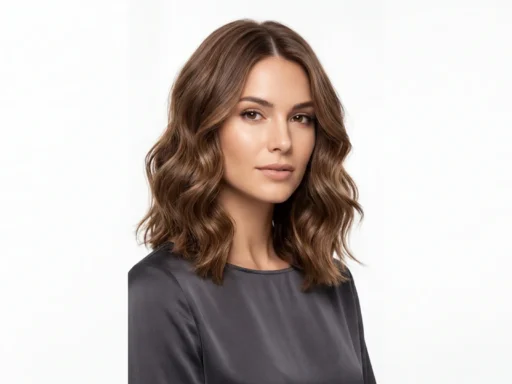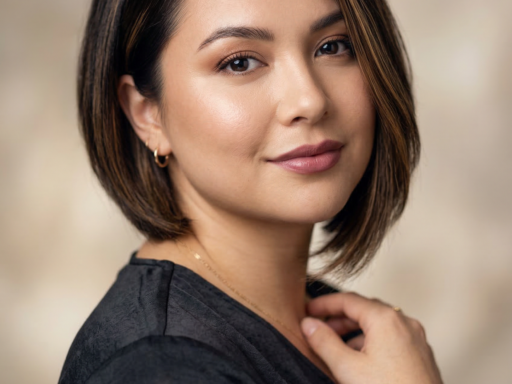

I’ve been terrified of cutting my own bangs since that disaster in seventh grade. You know the one — where I ended up looking like I stuck my finger in an electrical socket? But after spending way too much money at salons just to trim my curtain bangs every six weeks, I finally decided to figure this out myself. And honestly? Once I learned the right technique, I wondered why I’d been so scared.
What You’ll Need for Perfect Results
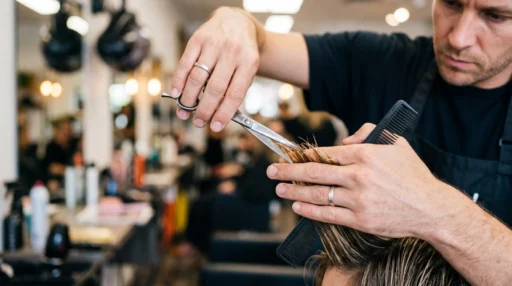
Let’s start with the tools. I learned the hard way that using kitchen scissors is a recipe for disaster — trust me on this one. You don’t need to spend a fortune, but having the right equipment makes all the difference.
- Sharp haircutting scissors (not craft scissors!)
- Fine-tooth comb
- Hair clips for sectioning
- Spray bottle with water
- Good lighting — seriously, this matters more than you think
- A steady hand and realistic expectations
The lighting thing is huge. I made my first attempt in my dimly lit bathroom and couldn’t see what I was doing. Natural light is your best friend here.
Step 1: Find Your Perfect Starting Point
This step determines everything else, so don’t rush it. Start with completely dry hair styled the way you normally wear it. I know some tutorials say to cut wet hair, but curtain bangs need to be cut based on how they’ll actually fall when dry.
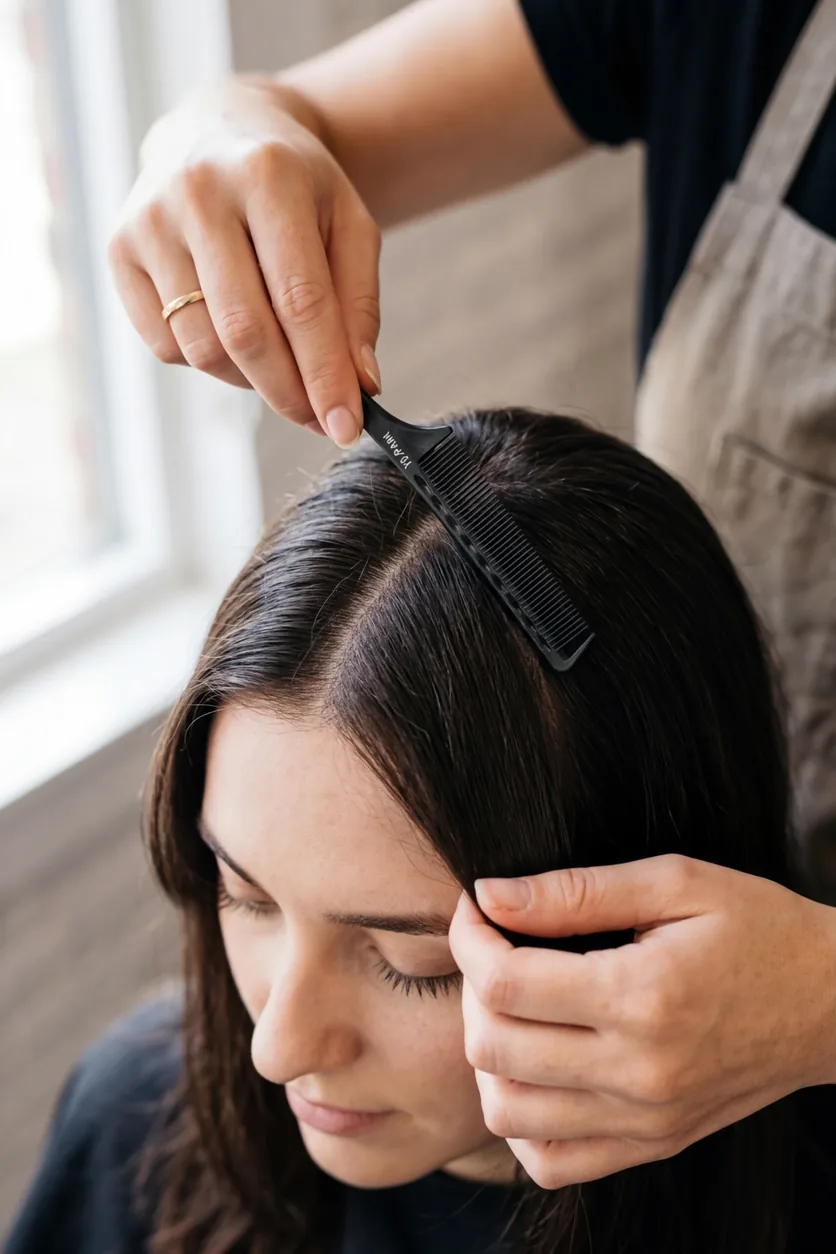
Find the highest point of your head — the crown. From there, create a center part that goes straight back about two inches. This is your bang section. The key is making sure this section is perfectly symmetrical. I use the tip of my nose as a guide — the center part should line up directly with it.
Step 2: Section Like a Pro
Here’s where most people mess up. You can’t just grab a random chunk of hair and start cutting. The sectioning needs to be precise, or you’ll end up with lopsided bangs that make you look like you did this blindfolded.
Clip away all the hair that’s NOT part of your bang section. I’m talking about really getting it out of the way — behind your ears, secured with clips. The only hair left hanging should be that center section you mapped out in step one.
I once tried to “wing it” with the sectioning and ended up cutting pieces that were supposed to frame my face. Had to wear headbands for weeks while it grew out. Don’t be like me — take the extra two minutes to section properly.
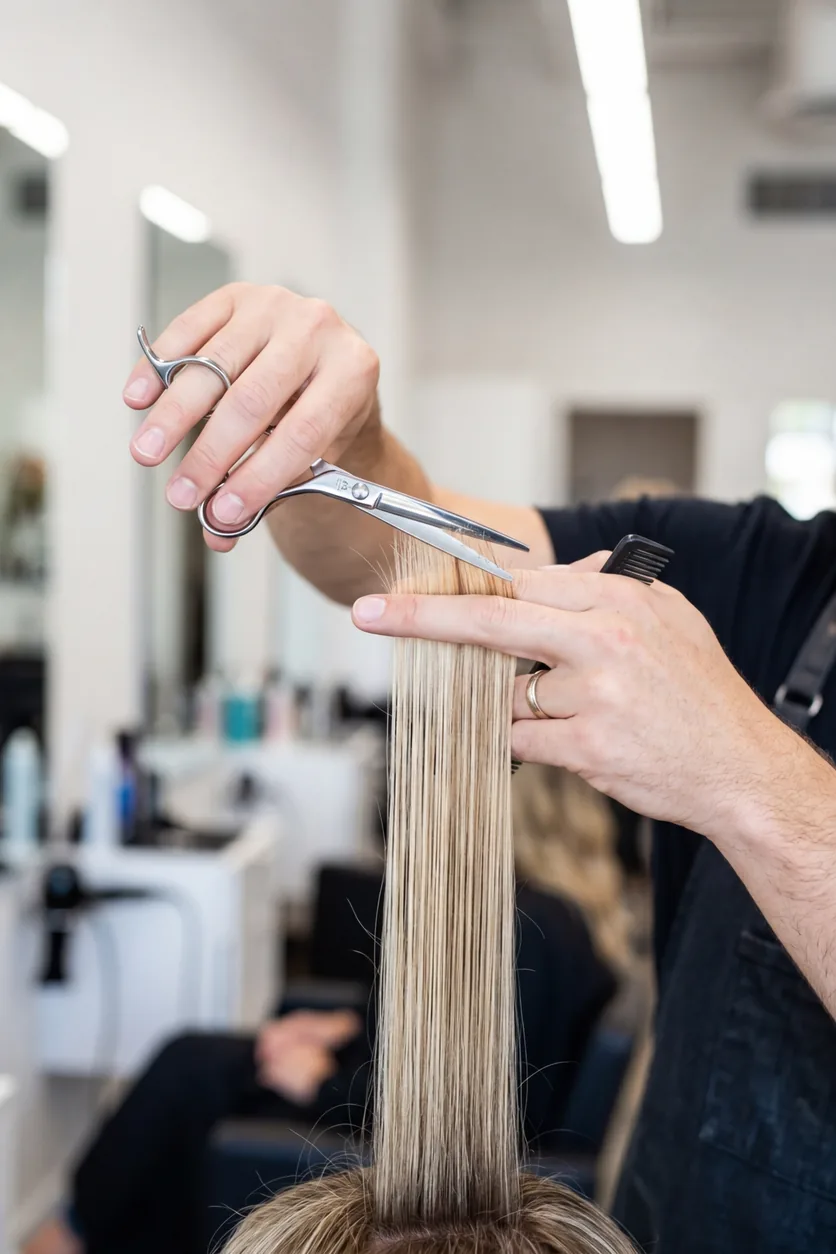
Step 3: The Triangle Method That Changes Everything
This is the game-changer technique I learned from watching professional stylists work. Instead of cutting straight across, you’re going to create a triangle shape with your hair.
Hold your bang section straight up from your head — not forward, not back, straight up. Now imagine drawing a triangle where the point is at your hairline center and the base is about an inch back. This triangle shape is what creates that perfect curtain effect where the bangs naturally fall to either side of your face.
Watch This Technique in Action
Step 4: Make the First Cut (Don’t Panic)
Deep breath. This is the moment of truth. Start longer than you think you need — you can always cut more, but you can’t put hair back once it’s on the floor.
Hold that triangular section straight up and make your first cut about an inch longer than where you want your shortest pieces to end up. Cut straight across — don’t try to angle it yet. That comes later. The goal right now is just to establish the length.
I remember my hands shaking during my first attempt. It’s normal to be nervous. Just remember: longer is better for now.
Step 5: Blend and Refine
Now comes the artistry part. Let your bangs fall naturally and see how they look. The center pieces should hit somewhere around your eyebrows or slightly below, and the sides should gradually get longer as they blend into your regular hair.
Use your scissors to point-cut — that means cutting vertically into the hair instead of straight across. This creates a softer, more natural edge that doesn’t look like you used a ruler. Work in small sections, trimming tiny bits at a time.
If you have curly hair like some of the gorgeous looks I’ve seen in curly updos that actually work, remember that your hair will bounce up when dry, so cut it slightly longer than you think you need.
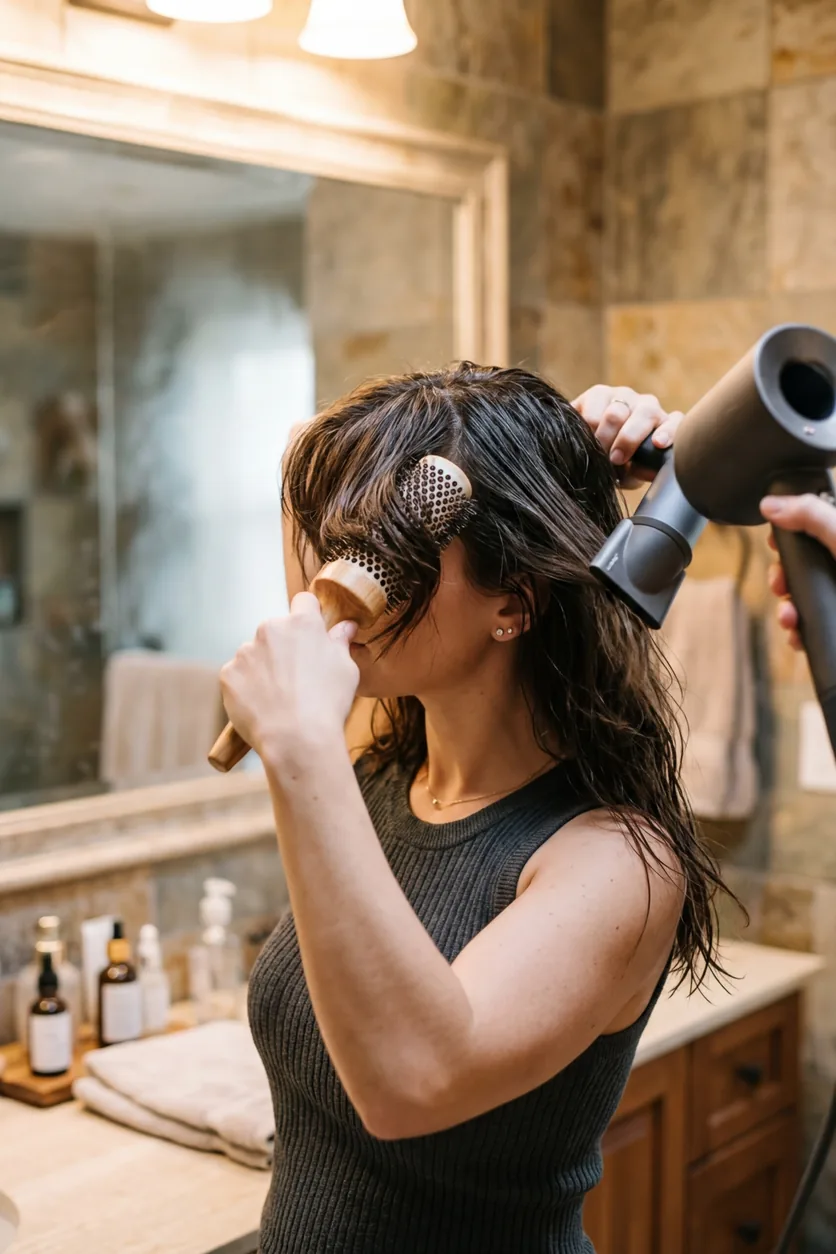
Step 6: Style and Perfect
This is where you see if all that careful cutting paid off. Style your bangs the way you normally would — blow dry them with a round brush, sweeping them to either side of your face. Styling techniques can make or break the final look.
Don’t be surprised if you need to make tiny adjustments. I usually find one or two pieces that need just a snip more. This is normal and expected — even professional stylists do this.
The real test comes the next day when you style them from scratch. If they fall naturally into that curtain shape and frame your face without looking choppy, you’ve nailed it.
I’ll be honest — my first attempt wasn’t perfect. But it was so much better than I expected, and I saved myself $60 that would’ve gone to my stylist. Now I trim my curtain bangs every four weeks, and they look just as good as when I get them done professionally. The key is taking your time, cutting conservatively, and not panicking if they don’t look perfect immediately. Hair grows, and with practice, you’ll get better at this. Trust me, once you master this technique, you’ll never want to book another bang appointment again.