I spent most of my twenties with hair that looked like it was painted onto my head. You know the look — completely flat, zero movement, and absolutely no personality. Then I discovered the magic of a long bob with layers specifically cut for fine hair, and honestly? It changed everything about how I feel when I look in the mirror.
Your Complete Guide to Long Bob Layers for Fine Hair
What You’ll Need for This Cut
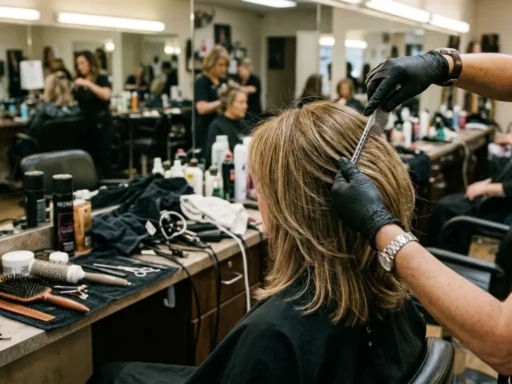
Before we dive into the actual cutting process, let me tell you what I wish someone had told me years ago. You’re going to need a stylist who actually understands fine hair. Not every hairdresser gets it.
- A stylist experienced with fine hair textures
- Sharp professional shears (this matters more than you think)
- Texturizing shears for soft layering
- A good blow dryer with a concentrator nozzle
- Round brush (medium barrel works best)
- Volumizing mousse or root lift spray
- Light-hold hairspray
The key is finding someone who won’t go scissor-happy. I learned this the hard way after one too many “just a trim” appointments that left me looking like I’d stuck my finger in an electrical socket.
Step 1: Getting the Right Length
Here’s where most people mess up their long bob — they go too short or too long. The sweet spot for fine hair is right at the collarbone, maybe an inch above or below depending on your face shape.
I always tell my stylist to start longer than we think we want. You can always cut more off, but growing it back? That’s a whole different story. When I got my first long bob, we went conservative at first — about two inches below my collarbone. Perfect starting point.
The length should hit right where your hair naturally wants to flip out a bit. That little kick at the ends? That’s not a styling mistake — it’s your hair’s natural movement, and we’re going to work with it, not against it.
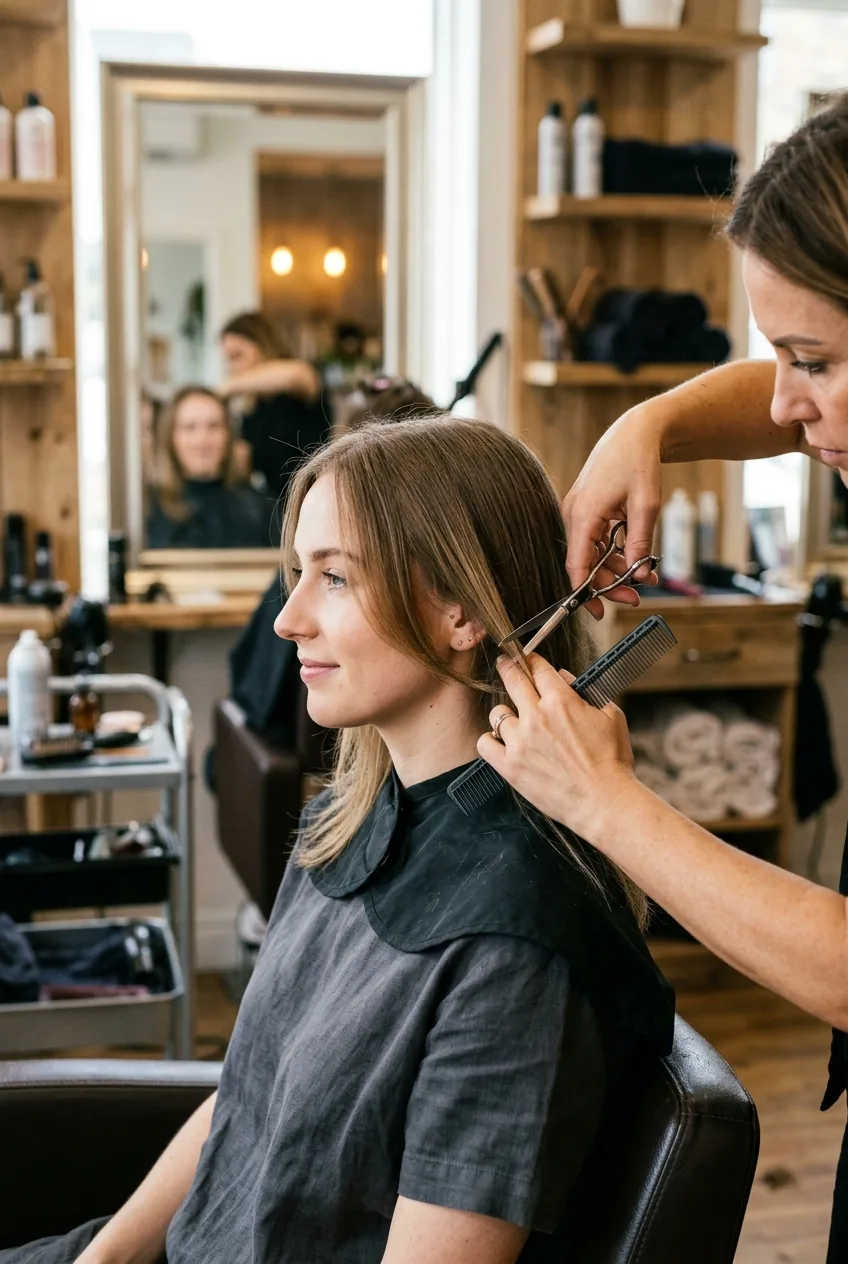
Step 2: Adding Strategic Layers
This is where the magic happens. Layers in fine hair aren’t about creating dramatic choppy pieces — they’re about strategic weight removal that creates the illusion of thickness.
Start with subtle face-framing layers that begin around your cheekbones. These pieces should be just slightly shorter than the rest of your hair, maybe half an inch to an inch. The goal is movement, not obvious layering.
Then add some interior layers throughout the back and sides. But here’s the thing I wish I’d known earlier — these should be very soft, almost invisible layers. Layering techniques that work for thick hair will destroy fine hair.
I made the mistake of asking for “lots of layers” during my second attempt at this cut. Big mistake. I looked like I’d been attacked by a weed whacker. The key is restraint — less is definitely more with fine hair.
Step 3: Creating Movement and Texture
Now we’re getting to the good stuff. This step is about using texturizing techniques to create the illusion of thicker, more dynamic hair. Point cutting is your best friend here.
Point cutting means your stylist cuts into the ends of your hair at an angle, creating softer, more natural-looking ends. This technique removes weight without creating harsh lines, which is exactly what fine hair needs.
I also love having my stylist use texturizing shears very lightly through the mid-lengths. And I mean lightly — maybe 10% of the hair gets touched by these shears. Any more and you’ll end up with that dreaded “fuzzy” look that makes fine hair look damaged.
The result should feel bouncy and alive when you shake your head. If it still feels heavy or flat, you might need a tiny bit more texture work. But honestly, it’s better to err on the side of caution.
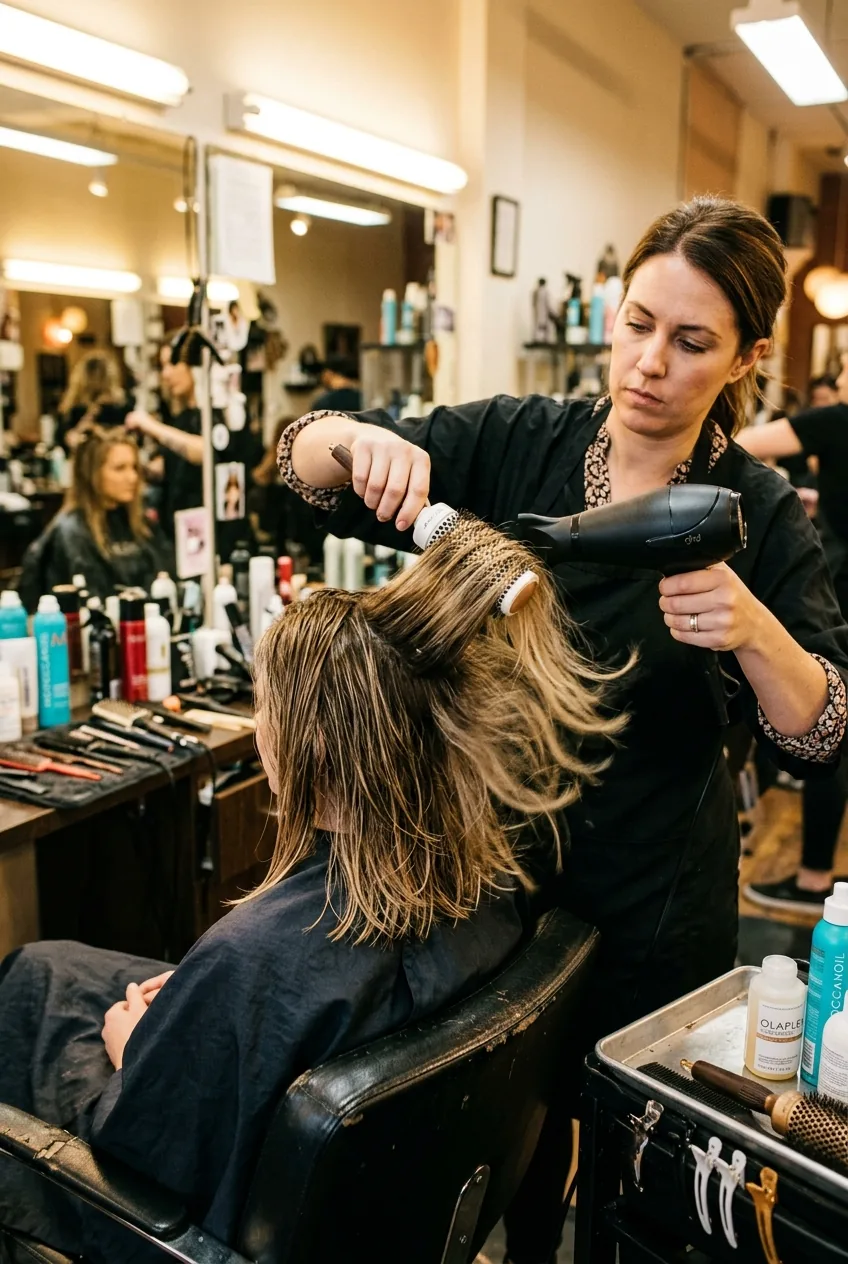
Watch the Texturizing Magic Happen
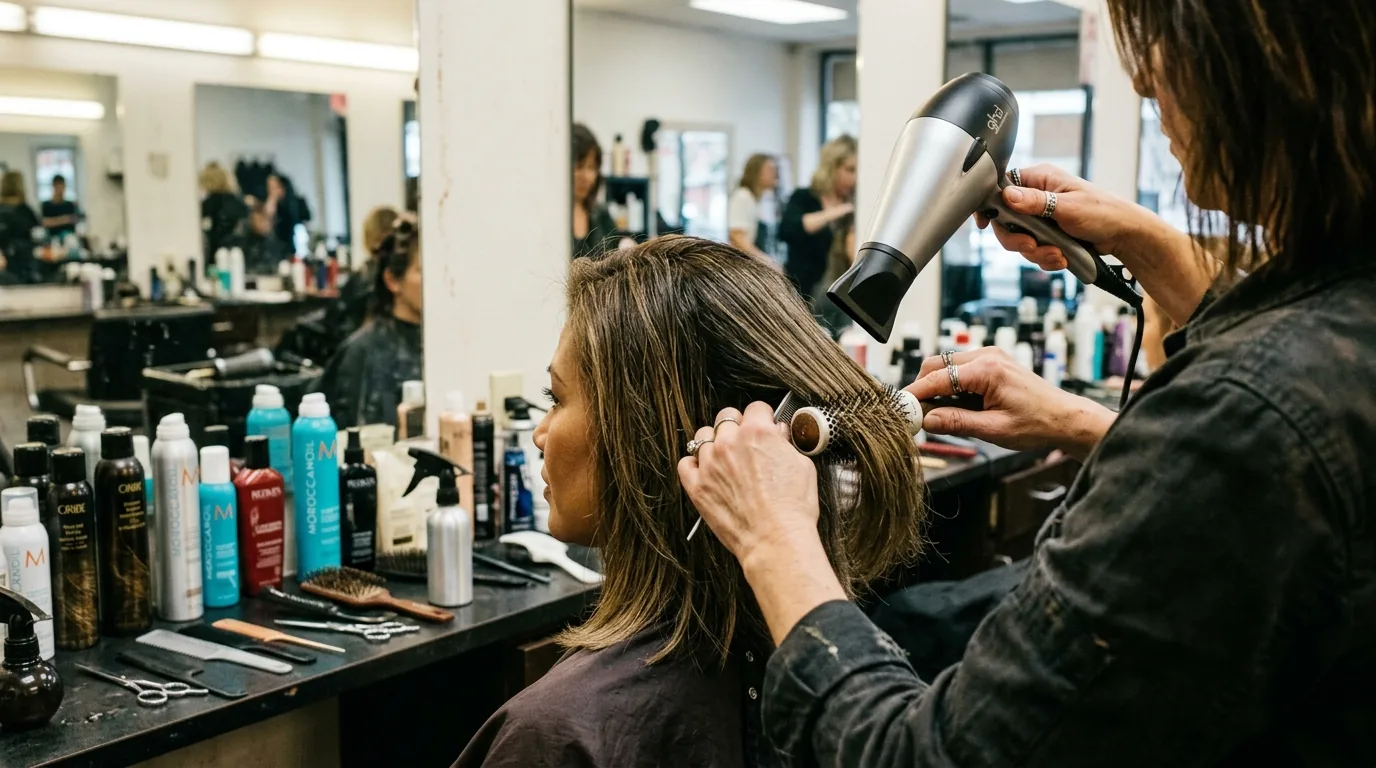
Step 4: Styling for Maximum Volume
Getting the cut is only half the battle. How you style your new long bob with layers makes all the difference in the world. I’ve tried every technique in the book, and here’s what actually works.
Start with damp hair and apply a volumizing mousse from roots to about halfway down the hair shaft. Don’t go all the way to the ends — that’ll weigh everything down. I learned this lesson after months of wondering why my hair looked great at the roots but flat everywhere else.
Use your blow dryer with the concentrator nozzle pointing down the hair shaft. This smooths the cuticle and creates shine. But here’s the key — lift sections at the root while you’re drying. I use my fingers or a round brush to create lift at the crown.
For the ends, I flip them under slightly with my round brush. Not a perfect curl, just a gentle bend that follows the natural line of the cut. The layering we did earlier will help this look effortless instead of forced.
Finish with a light mist of flexible hold hairspray. And I mean light — fine hair shows every bit of product buildup. The best bob haircut for round face shapes often benefits from this same styling approach, especially when working with finer textures.
The best part about this cut? It looks great air-dried too. On days when I don’t want to heat style, I just scrunch in some texturizing cream and let it do its thing. The layers create natural movement even without any effort on my part.
I’ve been wearing some version of this cut for three years now, and it’s honestly the most compliments I’ve ever gotten on my hair. People always ask if I got highlights or if I’m using a new product, but really? It’s all about the cut. When you get the length and layers right for fine hair, everything else just falls into place.
The maintenance is pretty minimal too — I get it trimmed every 8-10 weeks to keep the shape fresh. Sometimes I’ll switch up the styling or add some subtle highlights, but the basic cut structure stays the same. It’s become my signature look, and honestly, I can’t imagine going back to anything else.