I’ve been burned by curtain bangs three times. First disaster was at a trendy salon where the stylist gave me blunt baby bangs instead of the wispy, face-framing curtain style I showed her. Second time, I paid $180 for what looked like someone took kitchen shears to my forehead. After the third expensive disappointment, I decided to figure this out myself.
Your Curtain Bangs Cutting Roadmap
What You’ll Need
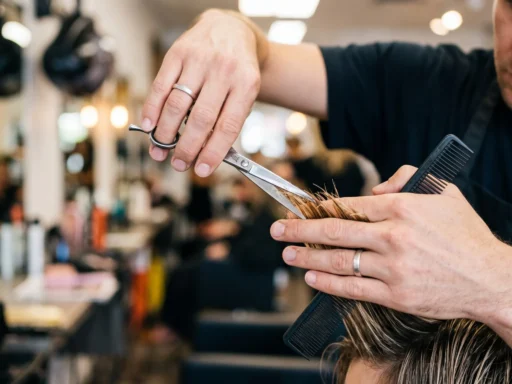
Don’t even think about using regular scissors for this. I learned that lesson the hard way when I grabbed my fabric shears and ended up with jagged, uneven pieces that took months to grow out.
- Professional haircutting scissors (sharp ones — I use a 6-inch pair)
- Fine-tooth comb
- Hair clips for sectioning
- Spray bottle with water
- Good lighting (seriously, overhead bathroom lighting won’t cut it)
- A handheld mirror to check angles
The scissors matter more than you think. I finally invested in a decent pair from Sally Beauty, and the difference in how cleanly they cut was night and day.
Start with the Right Canvas
This might sound backwards, but I always cut curtain bangs on completely dry hair. Wet hair lies differently, and you’ll end up with bangs that are way shorter than you intended once they dry.
Start with freshly washed, styled hair — whatever your normal routine is. If you have naturally wavy or curly hair, make sure it’s styled the way you usually wear it. The cut needs to work with your natural texture, not against it.
I learned this from watching professional cutting techniques — they always work with the hair’s natural fall and movement.
Create Your Center Part
Here’s where most people mess up: they part their hair where it naturally wants to go. But curtain bangs need a true center part to look balanced, even if that’s not your usual style.
Use the end of your comb to draw a line straight back from the center of your nose. It should hit right between your eyebrows and continue back about 4-5 inches. This creates the foundation for everything else.
My first attempt, I kept my side part and tried to work around it. The result? Lopsided bangs that made one side of my face look completely different from the other. Learn from my mistake — commit to the center part during the cutting process.
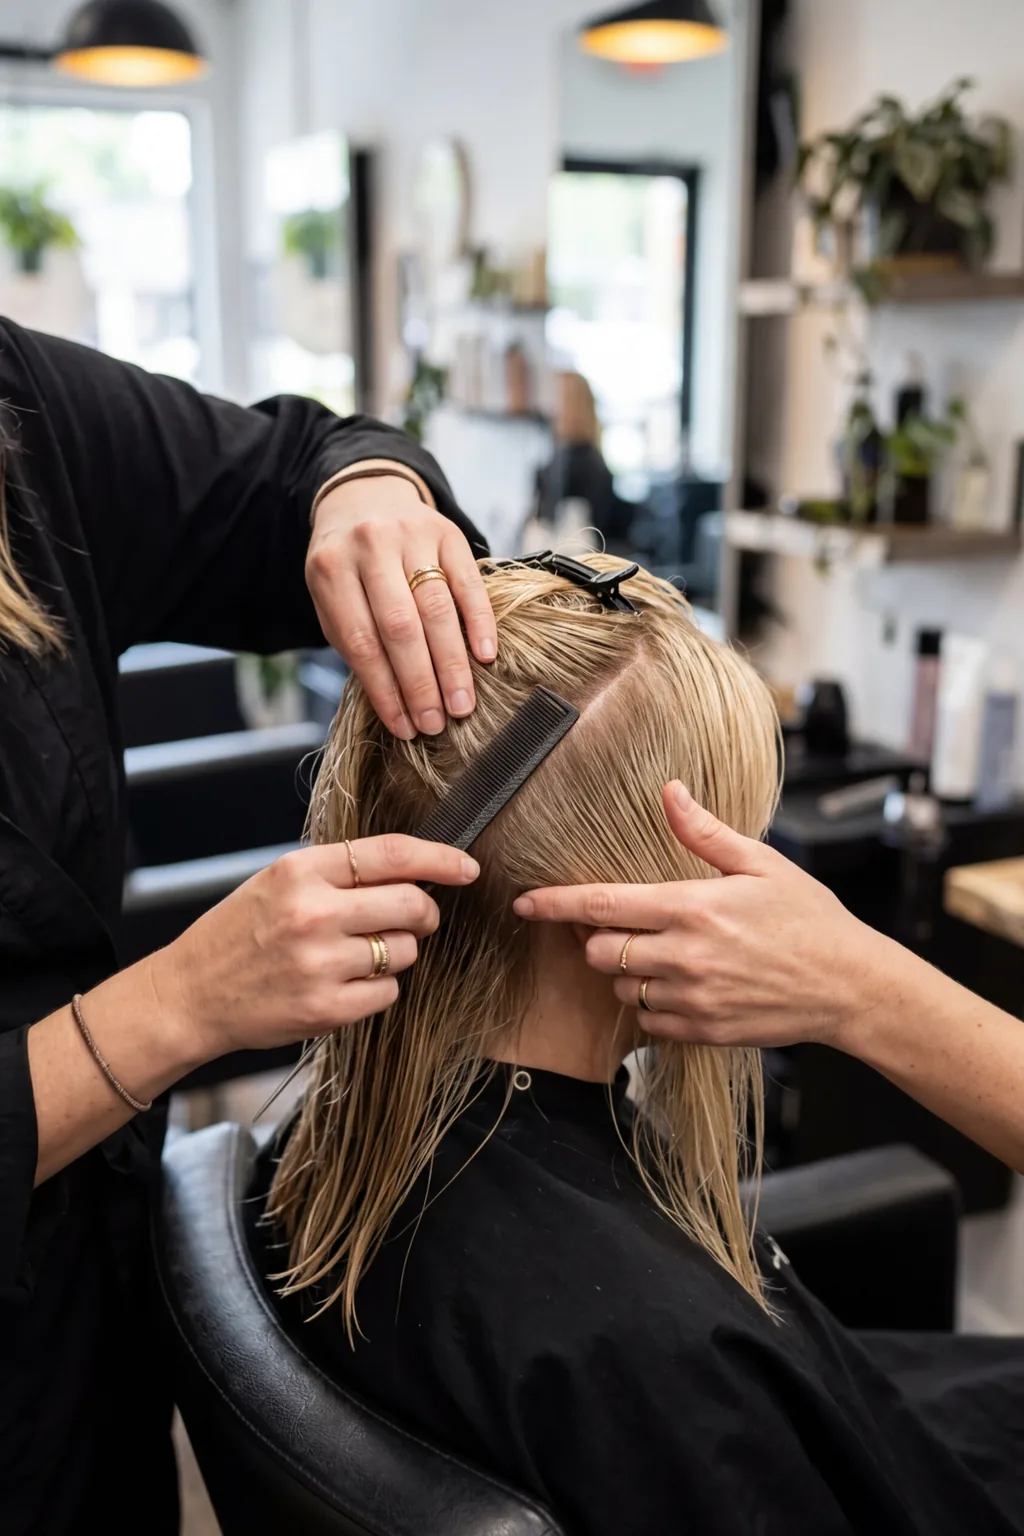
Section Like a Pro
This is the step that separates good curtain bangs from disasters. You’re creating a triangle-shaped section that will become your bangs.
Starting at your center part, create two diagonal lines that extend out to the outer corners of your eyebrows, then up to about an inch above your temples. The section should look like an upside-down triangle.
Clip away all the hair that’s NOT in this triangle. This prevents you from accidentally cutting too much and helps you see exactly what you’re working with.
The width matters. Too narrow and your bangs will look stringy. Too wide and they’ll overwhelm your face. I aim for the section to extend just to the outer edge of my pupils when I’m looking straight ahead.
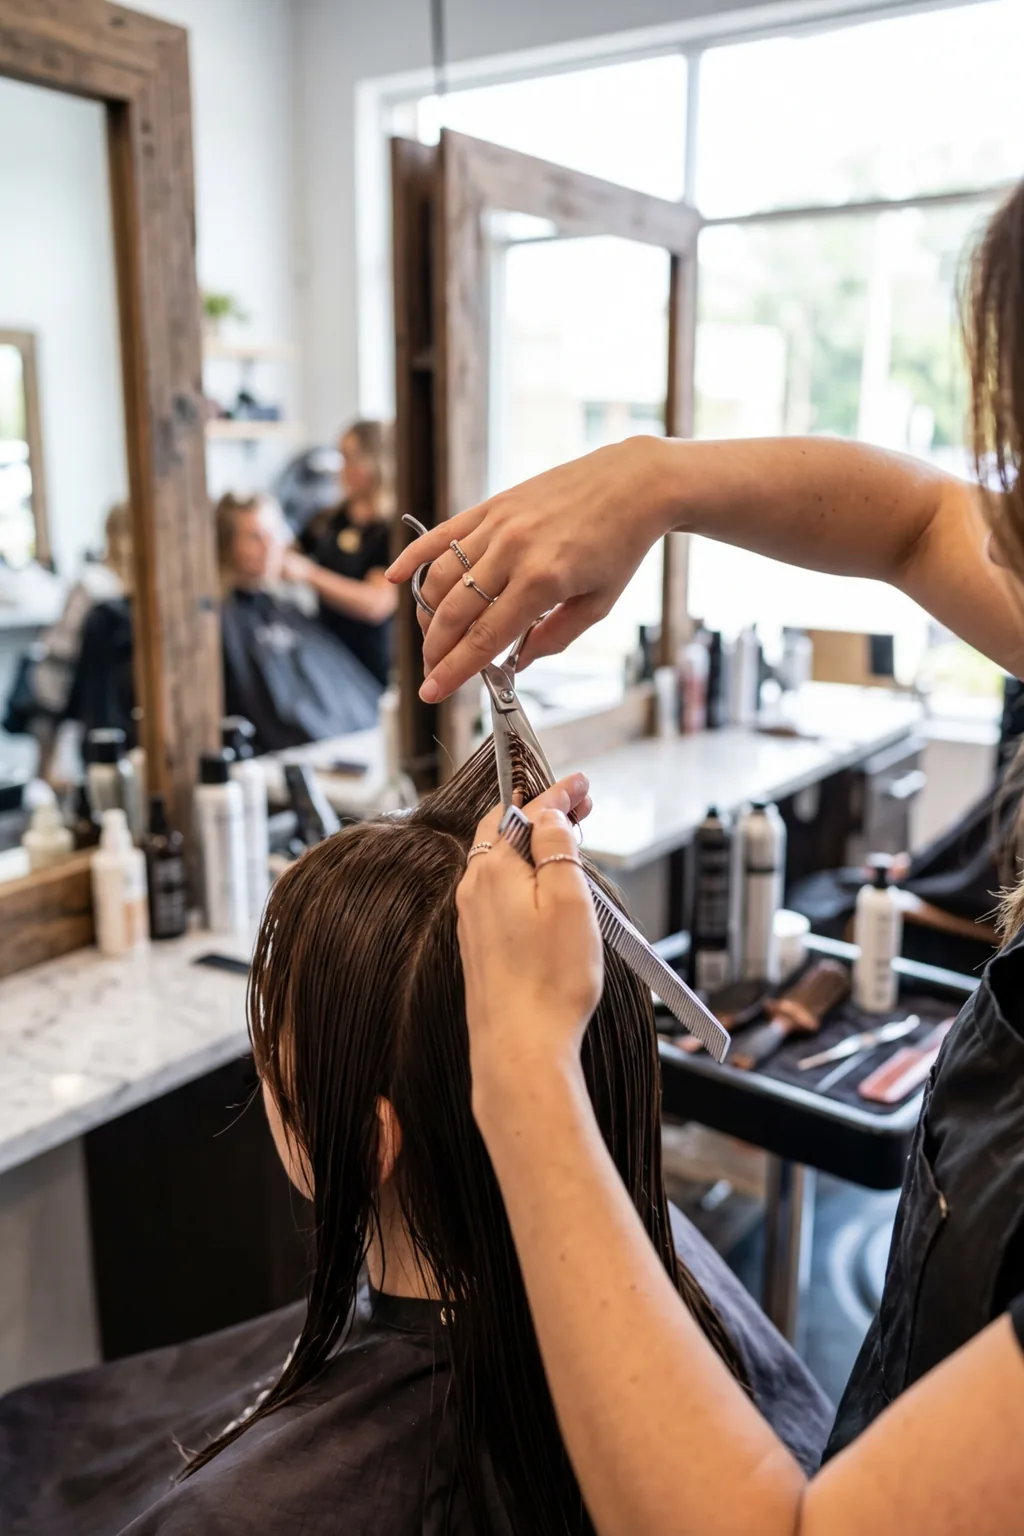
The Critical First Cut
Take a deep breath. This is the moment of truth, and there’s no going back after this cut.
Comb the triangular section straight down. Find the longest point you want your bangs to reach — for true curtain bangs, this should be about cheekbone level when the hair is pulled straight down.
Here’s the crucial part: cut at a slight downward angle, starting from the center and moving outward. The center pieces should be the shortest (around nose level), with the sides gradually getting longer as they move toward your temples.
Don’t try to cut the entire section at once. Work in small sections, about a half-inch wide, cutting each piece individually. This gives you much more control and prevents those awful blunt lines.
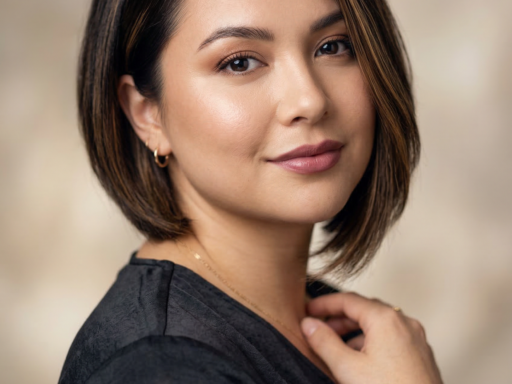
For reference on face shapes, some people with rounder faces find that edgy pixie cuts work better than bangs, but curtain bangs are surprisingly flattering on most face shapes when cut correctly.
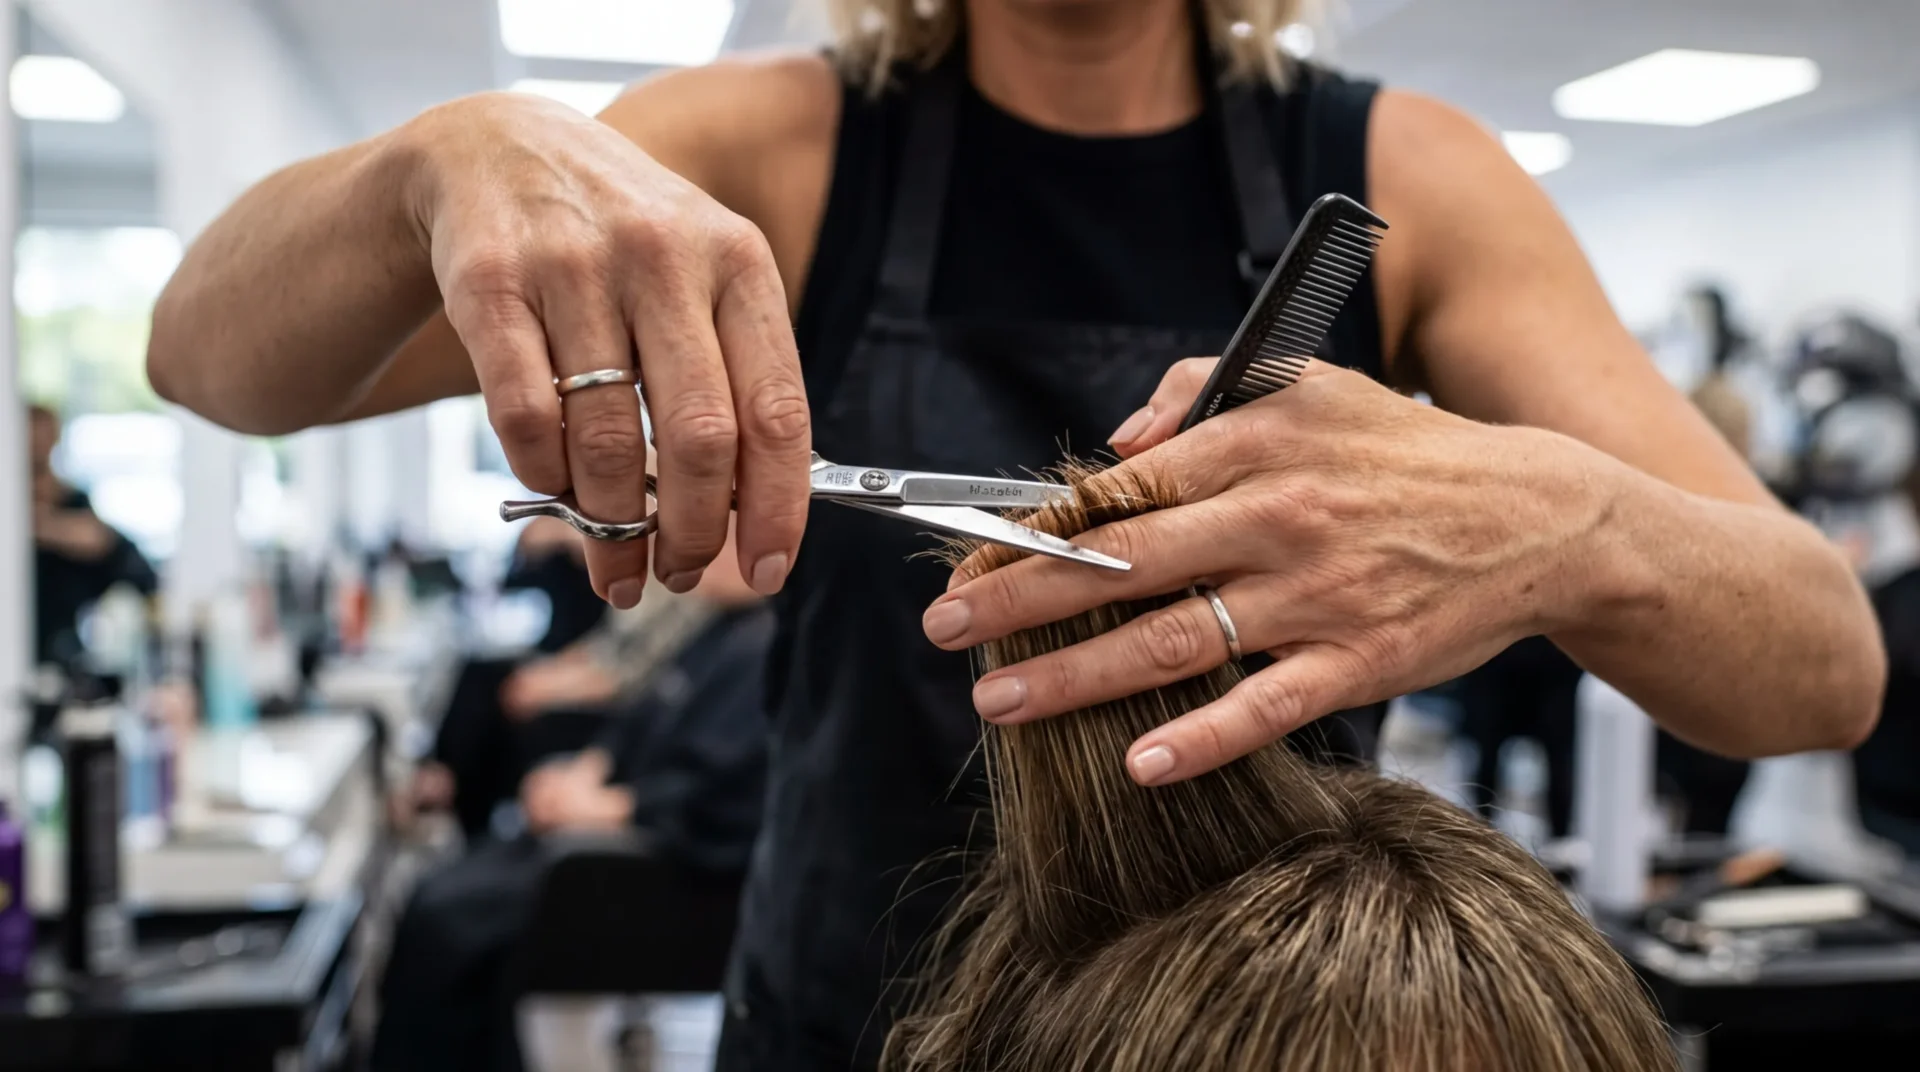
Watch This Cutting Technique Live
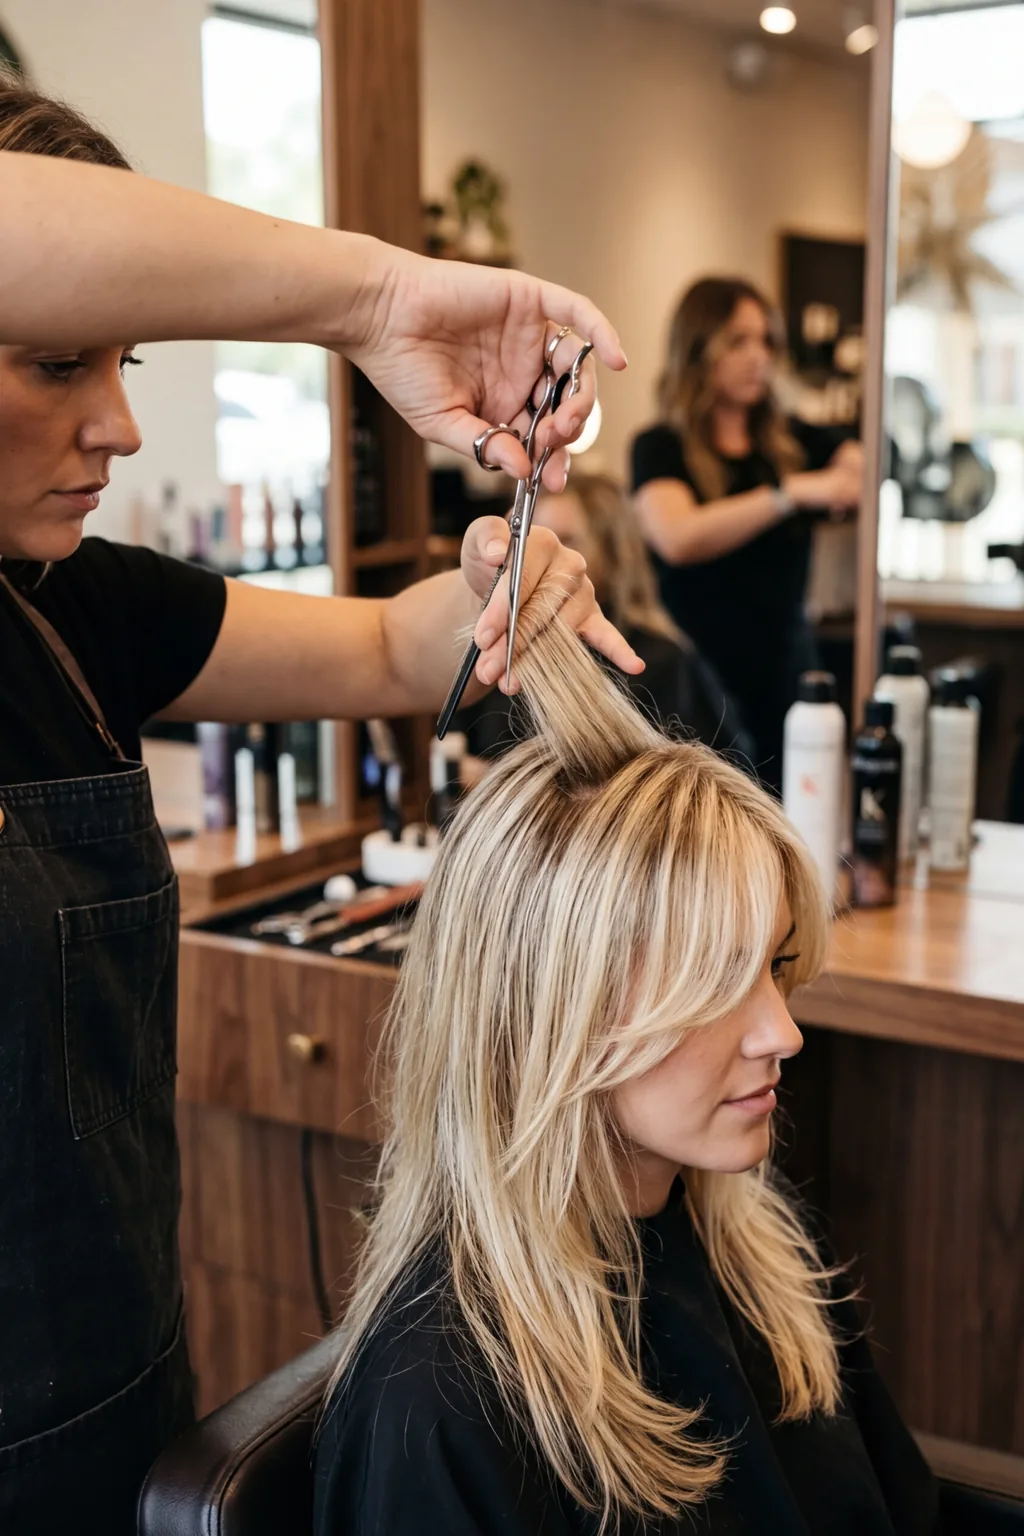
Blend and Perfect
Now comes the artistry part. Your bangs probably look a bit choppy right now — that’s normal and exactly what we want to fix.
Use a technique called point cutting to soften the edges. Hold your scissors vertically and make tiny snips into the ends of each section. This creates texture and removes that blunt, “I cut this at home” look.
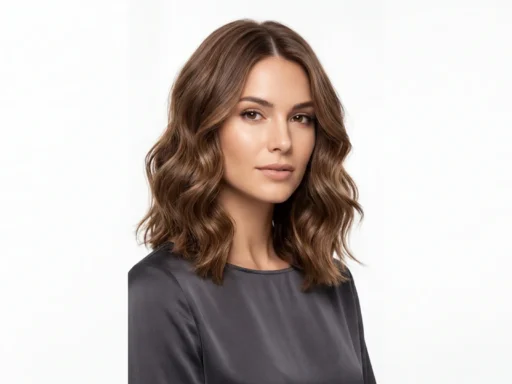
Step back and look at the overall shape. The bangs should create a gentle curtain effect, parting naturally in the center and framing your face. If one side looks longer than the other, carefully trim just a tiny bit from the longer side.
The beauty of this cutting method is similar to what I love about modern layering techniques — it works with your hair’s natural movement instead of fighting it.
Style your bangs by blow-drying them with a round brush, sweeping each side away from your face. A little texturizing spray helps create that effortless, lived-in look that makes curtain bangs so appealing.
I’ve been wearing my DIY curtain bangs for six months now, and they’ve grown out beautifully — something that never happened with my salon cuts. The key was taking my time with the sectioning and not rushing that first cut. My face looks more balanced, and I finally have that effortless French-girl vibe I was chasing. Plus, I saved myself probably $300 in salon visits and gained the confidence to maintain them myself.