I spent way too many years with sad, droopy ponytails that made my curls look flat and lifeless. You know the struggle — you start the day feeling cute, but by noon your ponytail has migrated down your neck and your curls are doing weird things. After countless failed attempts and some serious trial and error, I finally figured out the secret to curly ponytails that actually work.
What You’ll Need for Success
Let’s talk supplies. I’m not asking you to buy a whole salon, but having the right tools makes this so much easier.
- A good diffuser attachment (seriously, don’t skip this)
- Snag-free hair elastics — the fabric-wrapped ones are my favorite
- A wide-tooth comb
- Your usual curl cream or leave-in conditioner
- Bobby pins that match your hair color
- A microfiber towel or cotton t-shirt for drying
The diffuser is honestly non-negotiable here. I tried for years to make ponytails work with air-dried hair, but the volume just wasn’t there. Once I started diffusing first, everything changed.
Prep Your Curls Right
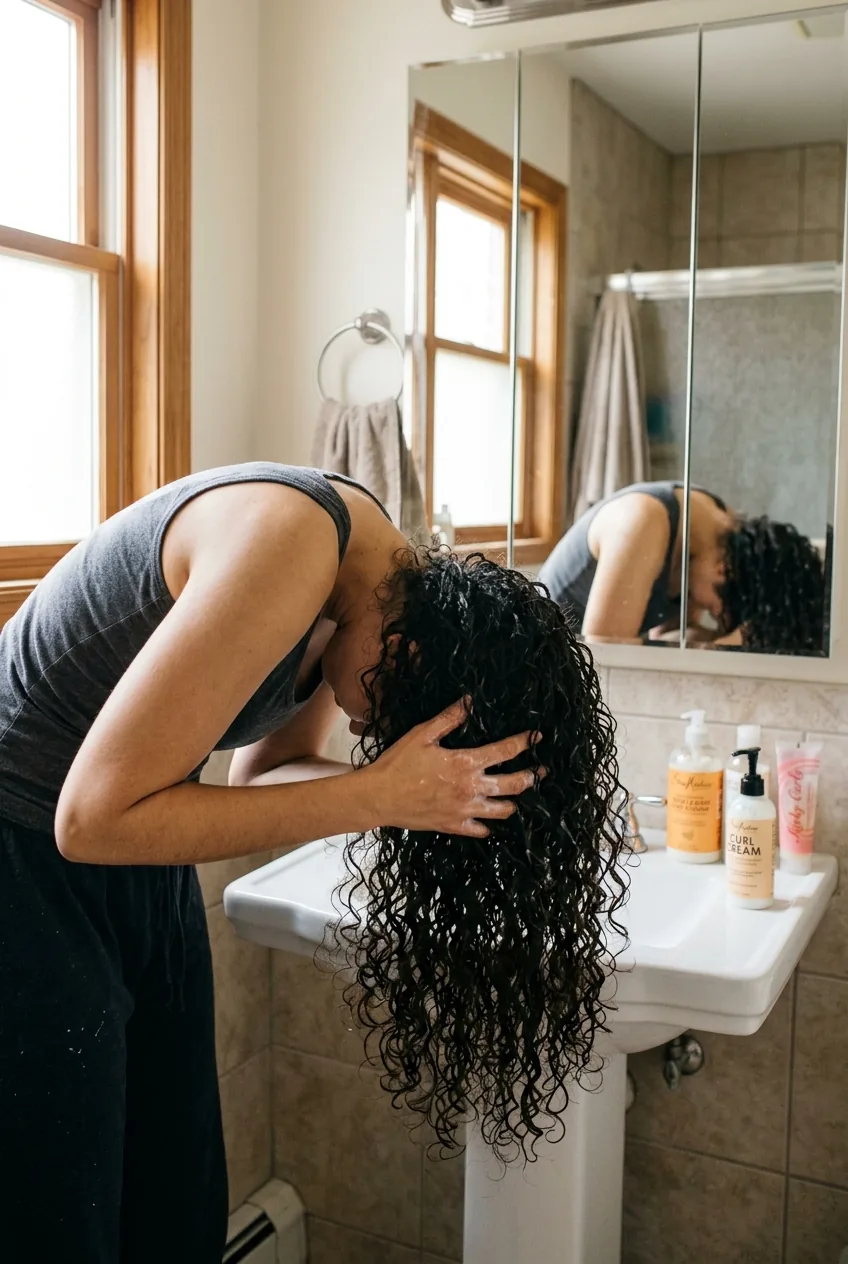
This step sets the foundation for everything. Start with freshly washed hair — day-old curls just don’t have the same bounce for ponytails, at least not in my experience.
After washing, gently squeeze out excess water with your microfiber towel. Don’t rub — just press and squeeze. Then apply your curl cream or leave-in, working it through with your fingers. I like to flip my head upside down for this part because it helps with volume later.
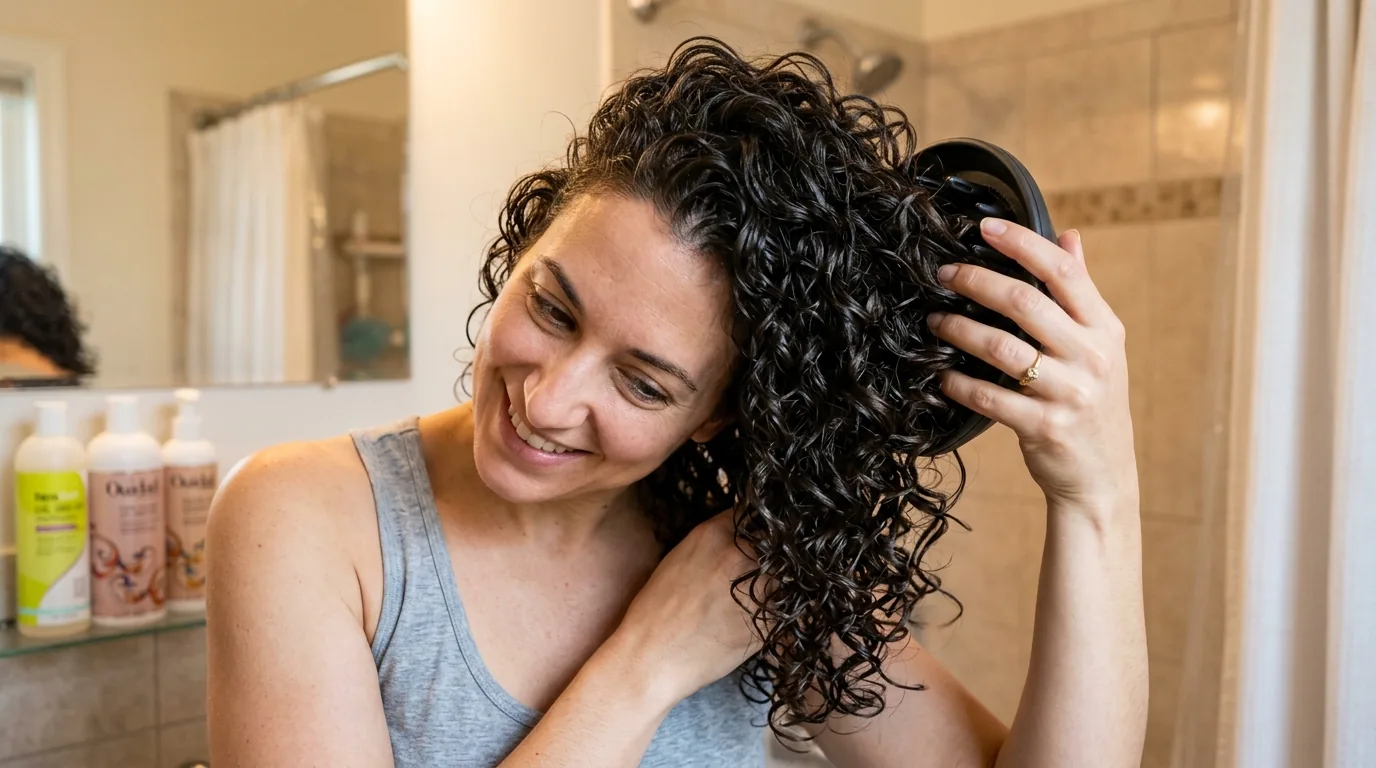
Here’s where that diffuser comes in. Diffuse your curls until they’re about 80% dry, focusing on the roots. The goal isn’t perfectly dry hair — you want some moisture left for styling. This technique reminded me of some curly updos that actually work because the prep work is so similar.
The Root Lift Game-Changer
This is where I see most people go wrong. They gather their hair into a ponytail with zero thought about root volume, then wonder why it looks flat.
Before you even think about the elastic, flip your head upside down and shake your curls out. Then slowly flip back up, using your fingers to lift sections at the crown. I literally hold each section up for a few seconds — it sounds silly, but it works.
I used to skip this step because I thought it was unnecessary. Big mistake. The difference in volume is dramatic — like going from a sad, deflated ponytail to one that actually has life to it.
If your roots are still a bit damp, hit them with the diffuser one more time while lifting sections with your fingers. This sets the volume in place.
Watch This Root Lifting Technique
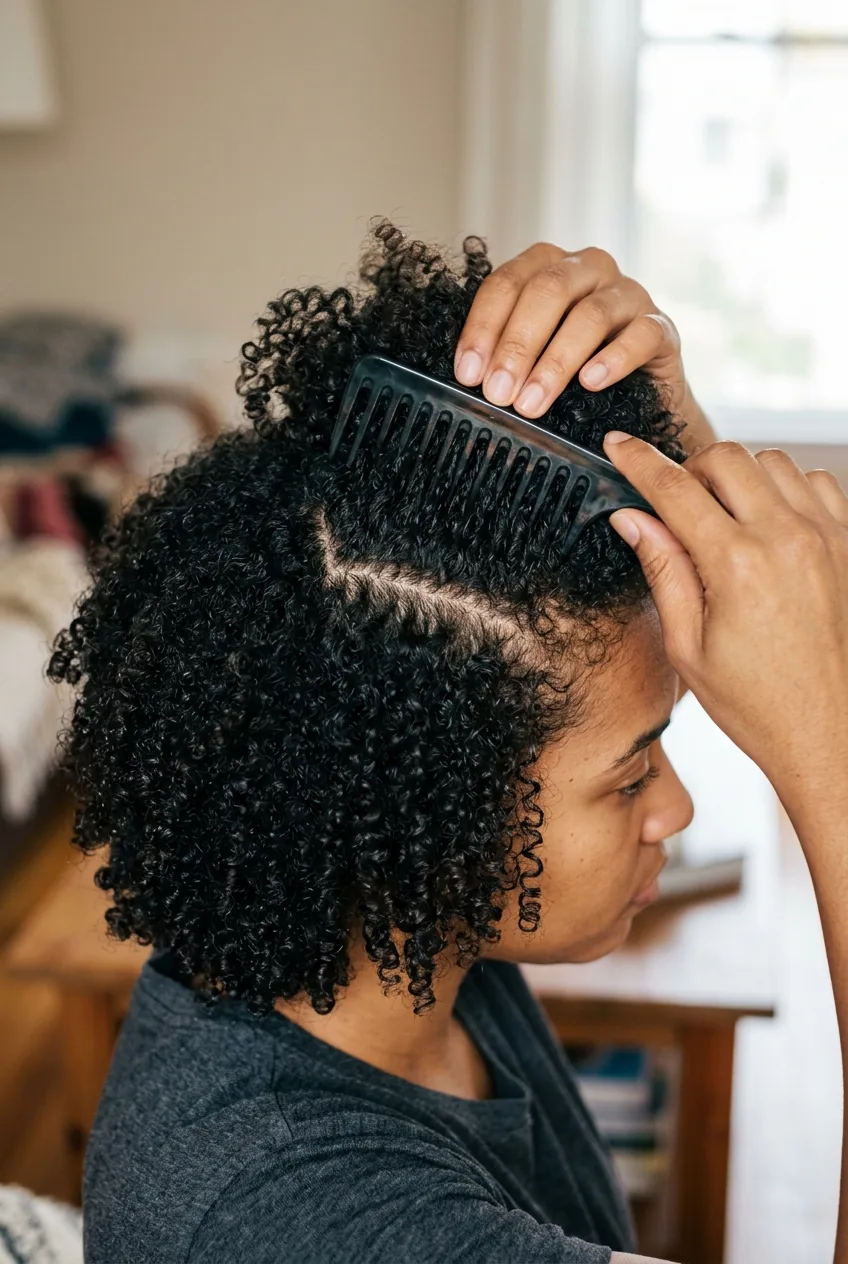
My Sectioning Trick
Most tutorials tell you to just gather all your hair back, but that’s not how you get a polished look. I section my hair into three parts: the top crown section, the sides, and the back.
Start with the crown section — this is roughly from your temples to the back of your head. Gently smooth this back with your wide-tooth comb, but don’t flatten it completely. You want to maintain some height.
Then work the side sections back, making sure they meet smoothly with the crown section. The back section gets added last. This method prevents that lumpy, uneven look that happens when you just grab everything at once.
The Elastic Placement Rule

Placement is everything with curly ponytails. Too high and it pulls your face in weird ways. Too low and it drags your curls down. I’ve found the sweet spot is right at the occipital bone — that’s the bump at the back of your head.
Hold your gathered hair at this spot and do a mirror check from multiple angles. Does it look balanced? Are your curls sitting nicely? If something feels off, adjust before you put the elastic in.
When you do secure it, don’t pull the elastic super tight on the first wrap. Start loose, then gradually tighten. This prevents that weird dent that happens when you go too tight too fast. Proper hair care techniques make such a difference in how your styles turn out.
Securing Without Damage
Here’s where I used to cause myself so much breakage. I’d wrap that elastic around and around until it felt “secure,” not realizing I was creating a death grip on my hair.
Two wraps is usually enough with a good elastic. Three max. If it’s slipping after two wraps, you need a smaller elastic, not more wraps.
After securing, I like to bobby pin any pieces that didn’t make it into the ponytail. Slide the pins in from underneath so they’re hidden, and angle them toward the elastic for the strongest hold.
The Final Fluff
This last step is what takes your ponytail from “I threw my hair back” to “I actually styled this.” Gently pull at the crown section to create some strategic volume. Not too much — you’re not going for a bouffant here.
Then scrunch the ponytail itself to reactivate your curls. Sometimes they get a little stretched out during the styling process, and this brings back their natural shape.
If you have shorter layers around your face that won’t reach the ponytail, embrace them! Let them frame your face naturally. Trying to force every single hair back usually just creates flyaways anyway.
The whole process takes me maybe 10 minutes now, and I get compliments on my ponytails regularly. It’s such a relief to have a go-to style that actually works with my curls instead of against them. Quality styling products definitely help, but technique is really what makes the difference.
My ponytails now stay put for a full day, maintain their volume, and my curls look intentional rather than chaotic. That’s honestly all I ever wanted from this hairstyle, and I wish I’d figured out this method years ago.