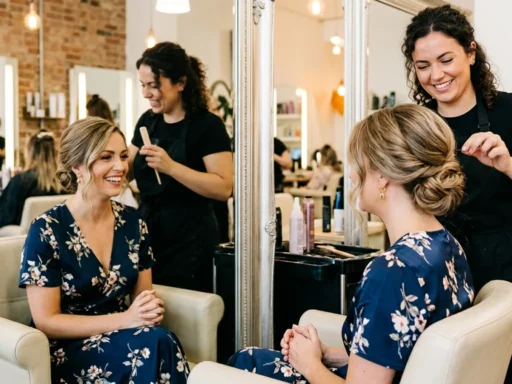

I used to think braids were boring. Seriously, for years I’d throw my hair into the same basic three-strand braid and call it a day. Then I discovered vibrant braided styles, and honestly? My whole relationship with my hair changed. These aren’t your elementary school playground braids — we’re talking about dimensional, colorful, eye-catching styles that make people stop and ask where you got your hair done.
Getting Your Supplies Ready
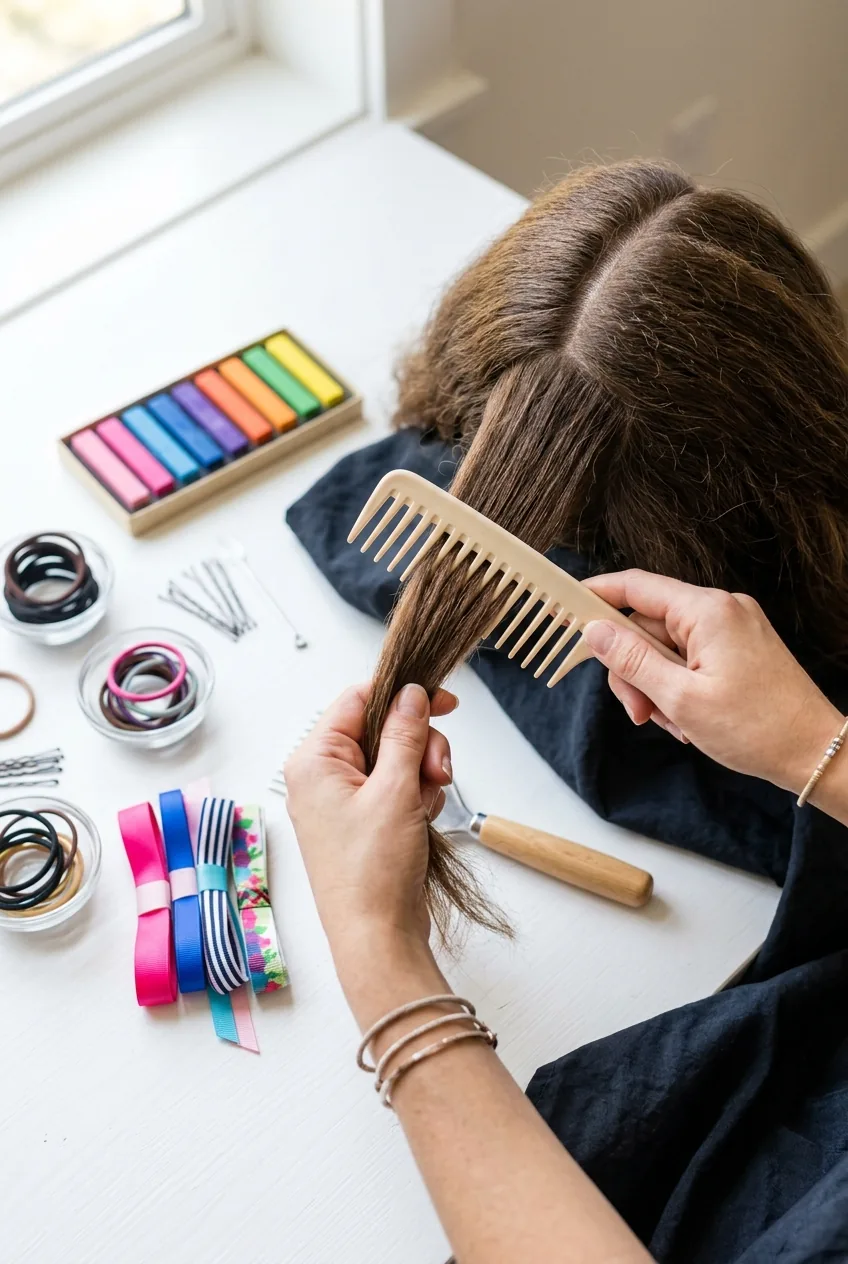
Before we dive into the fun stuff, let’s talk about what you actually need. I learned this the hard way after starting three different braids only to realize I was missing key supplies halfway through.
Here’s what I keep in my braiding kit:
- Colorful hair chalk or temporary spray (washable ones are perfect for beginners)
- Thin elastic bands in multiple colors — clear ones work too
- Hair ribbons in different widths and textures
- Small bobby pins that match your hair color
- A wide-tooth comb for sectioning
- Hair clips to hold sections while you work
- Texturizing spray for grip — trust me on this one
The texturizing spray was a game-changer for me. My hair is naturally pretty smooth, and braids would just slip out constantly until I discovered this trick.
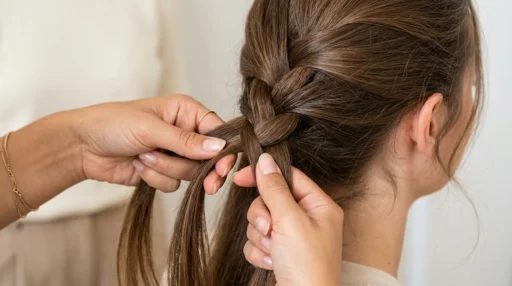
The Foundation Braid That Changes Everything
This is where most people go wrong — they jump straight to complicated techniques without mastering the basics. I spent weeks practicing this foundation technique, and it’s the reason all my other braids look so much better now.
Start with slightly damp hair that has texture spray worked through it. Section off the top portion of your hair from ear to ear. This is going to be your canvas for adding color later, so make sure the part is clean and straight.
Begin with a standard three-strand braid, but here’s the key: keep your tension consistent. Not too tight (it’ll give you a headache), not too loose (it’ll fall apart). I like to think of it as a firm handshake — confident but not crushing.
I used to braid so tightly that I’d get tension headaches within an hour. It took me forever to realize that a slightly looser braid actually holds better because your hair has room to grip itself naturally.
Adding Your First Pop of Color
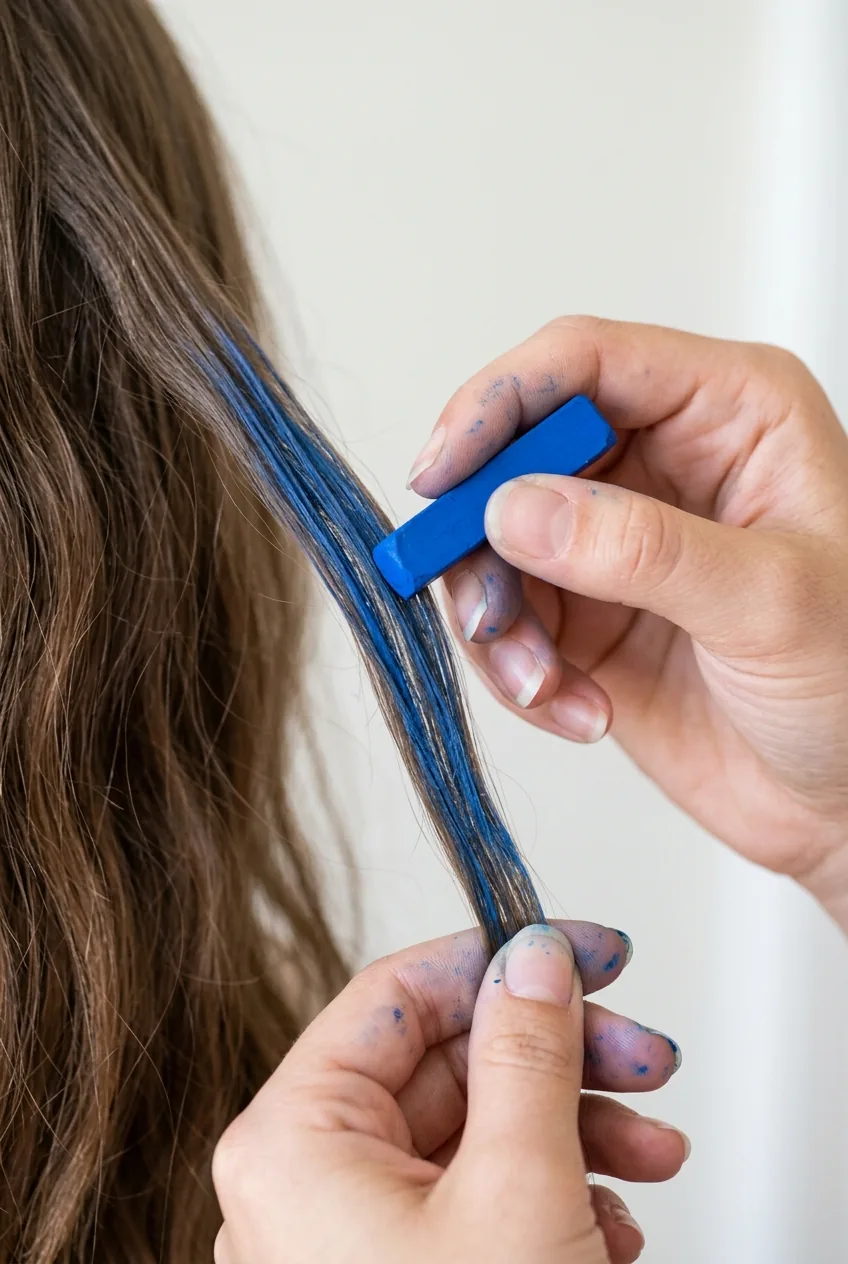
Now comes the fun part — and honestly, this is where these vibrant braided styles really come alive. I prefer starting with just one accent color to get comfortable with the process.
Take your hair chalk and work it into one strand of your foundation braid. I usually go for the strand that will be most visible when the braid is complete. Work the color in with your fingers, really making sure it’s saturated from root to tip of that section.
The trick is to apply color before you continue braiding. Once you’ve got your pop of color, continue your three-strand technique, and watch how that colored strand weaves through the entire braid. It’s like magic, honestly.
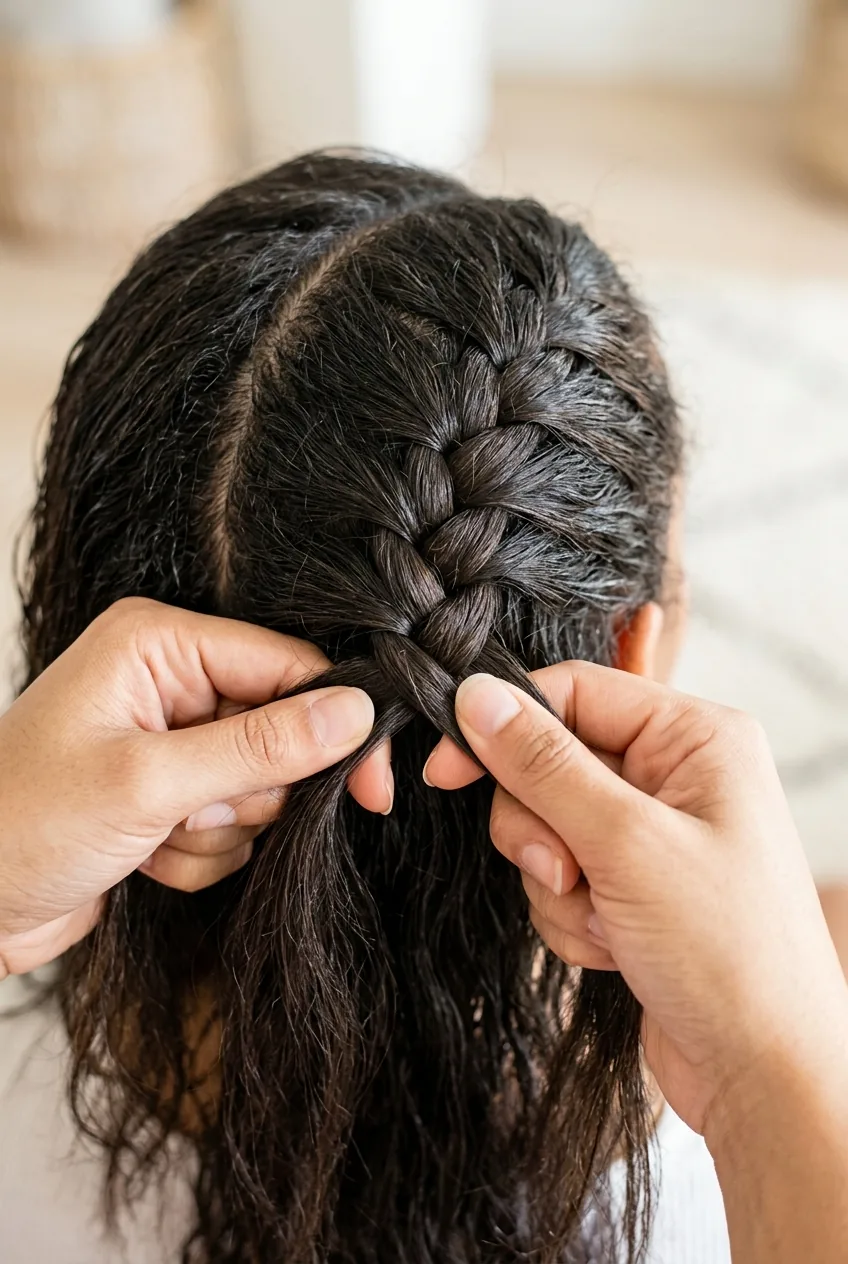
The Dutch Crown Technique
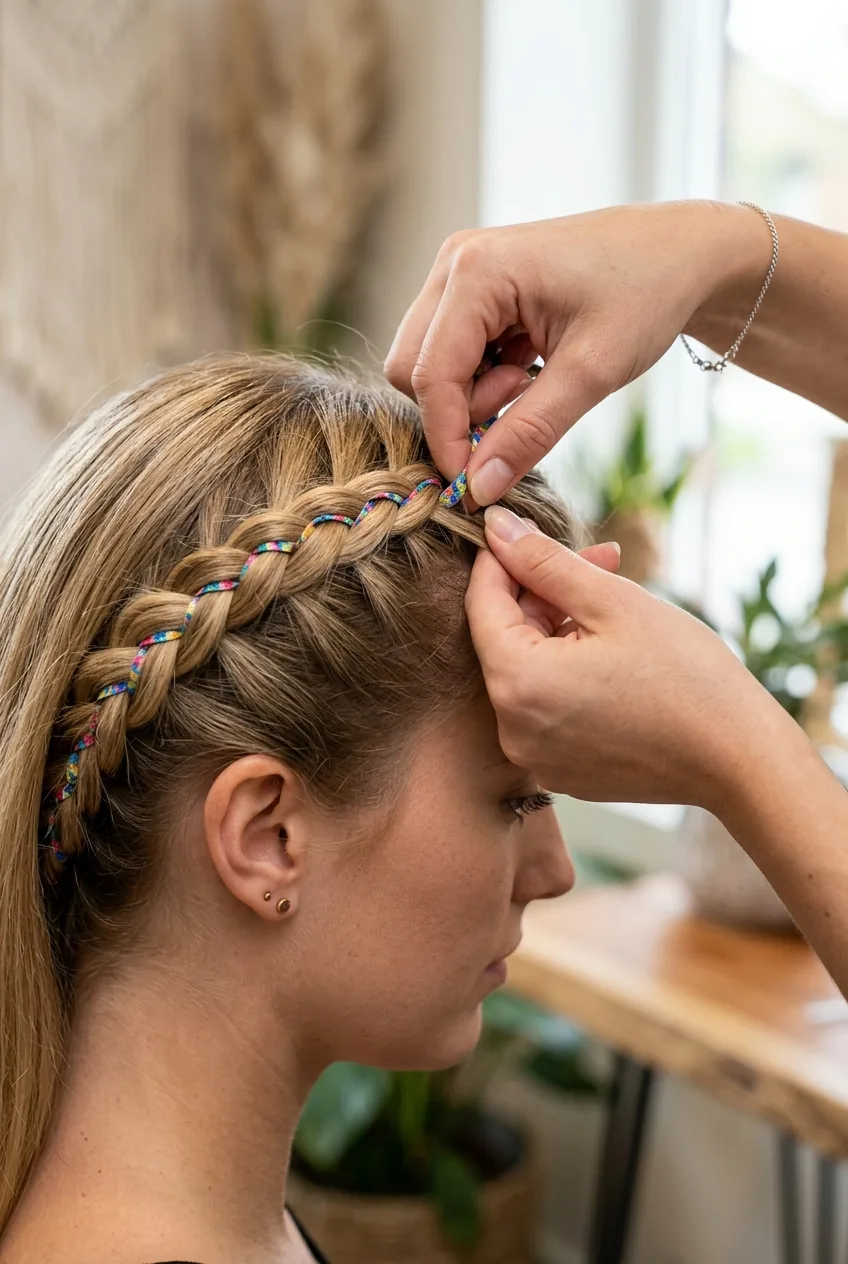
This technique completely changed how I think about braided styles. Instead of letting your braid hang down, you’re going to create a crown effect that frames your face beautifully.
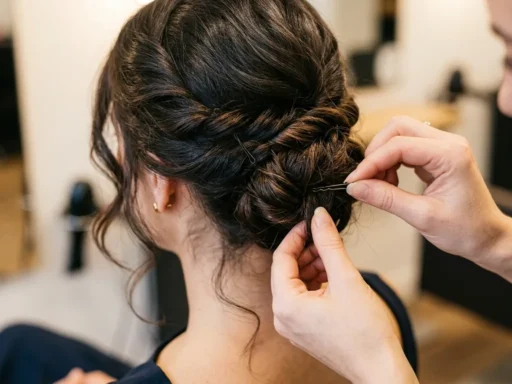
Start at one ear and begin a Dutch braid (that’s where you cross the strands under instead of over). The key is to follow your hairline, picking up small sections as you go. I like to add a thin ribbon to this braid — it becomes like jewelry in your hair.
When you reach the opposite ear, secure with a small elastic and tuck the end behind your ear. The result? A gorgeous crown that works for everything from elegant updos to casual everyday looks.
Fishtail Magic with Ribbons
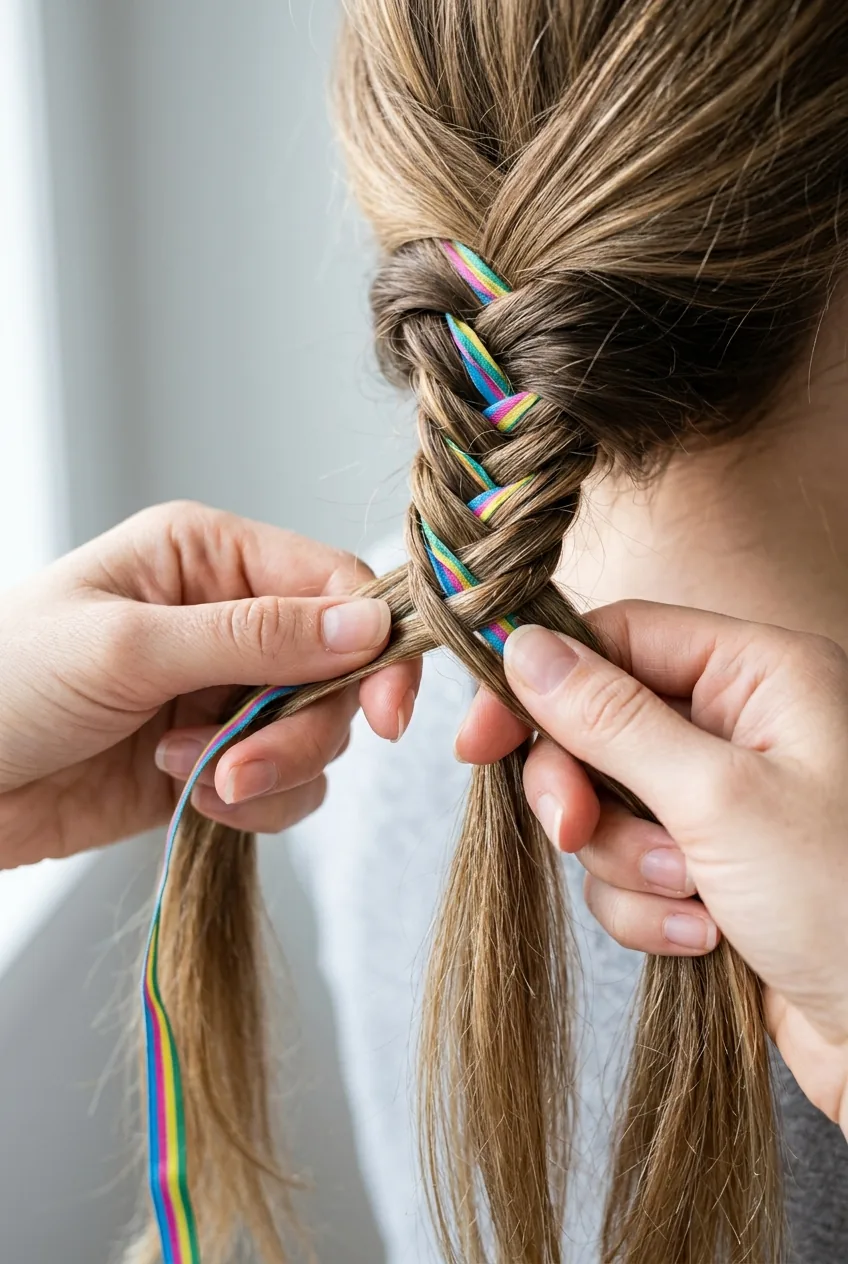
I was intimidated by fishtails for the longest time, but they’re actually easier than regular braids once you get the rhythm down. Plus, they create this incredible texture that’s perfect for showcasing colorful ribbons.
Split your hair into two large sections. Take a thin piece from the outside of the left section and cross it over to join the right section. Then take a thin piece from the outside of the right section and cross it to the left. That’s literally it — just keep alternating.
Here’s where the ribbon comes in: thread a colorful ribbon through the braid as you go. I like to weave it over one crossing and under the next. The ribbon weaving methods create this beautiful dimensional effect that photographs amazingly well.
Watch This Technique in Action
Double Strand Twist Paradise
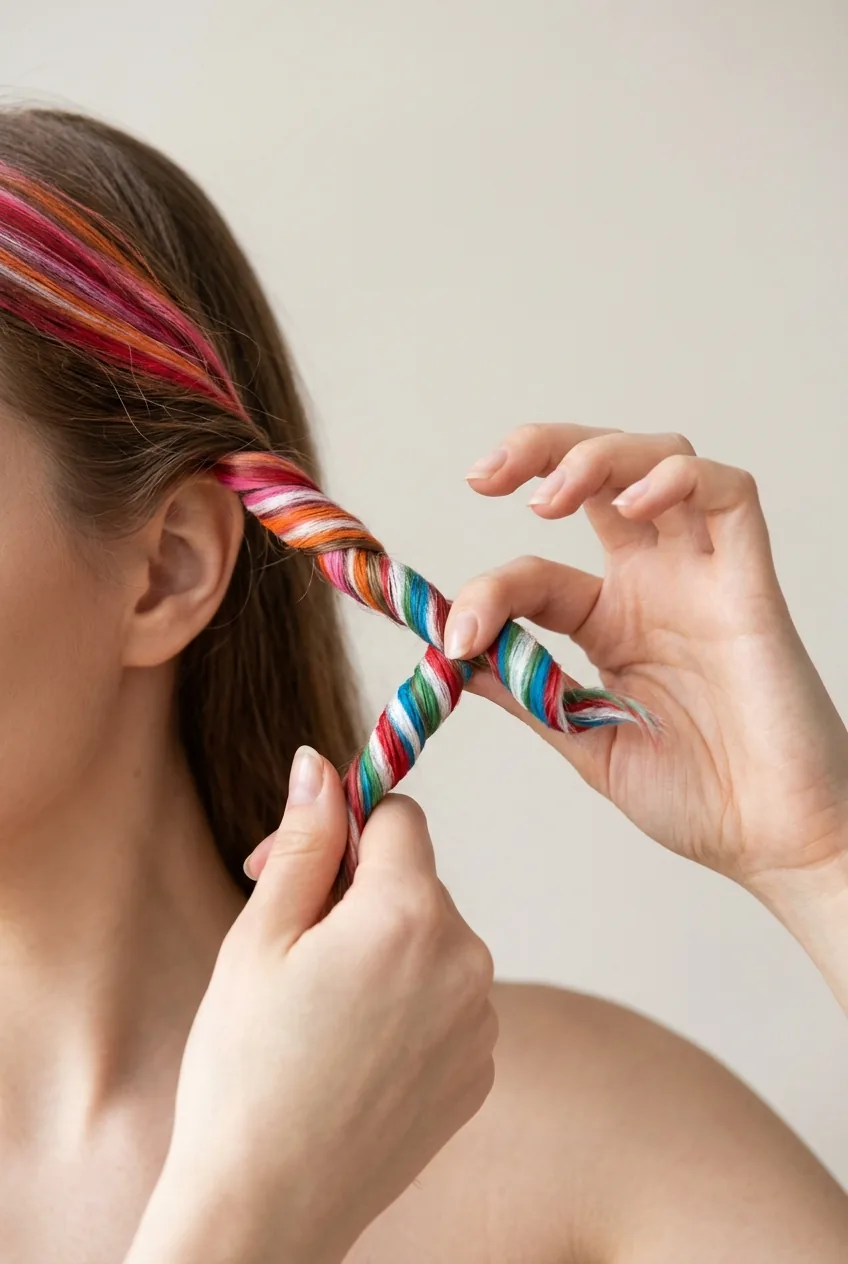
When I want something that looks complicated but is actually super forgiving, I go for double strand twists. They’re perfect for adding pops of color because the twisting motion creates natural highlights and lowlights.
Divide your hair into two sections and twist each section in the same direction (I always go clockwise). Then twist the two sections around each other in the opposite direction (counterclockwise). It sounds confusing, but your hands will figure it out quickly.
Before you start twisting, add different colored chalks to random sections. As you twist, these colors will spiral through the style, creating this incredible candy cane effect that I absolutely love.
The Bohemian Waterfall Finish
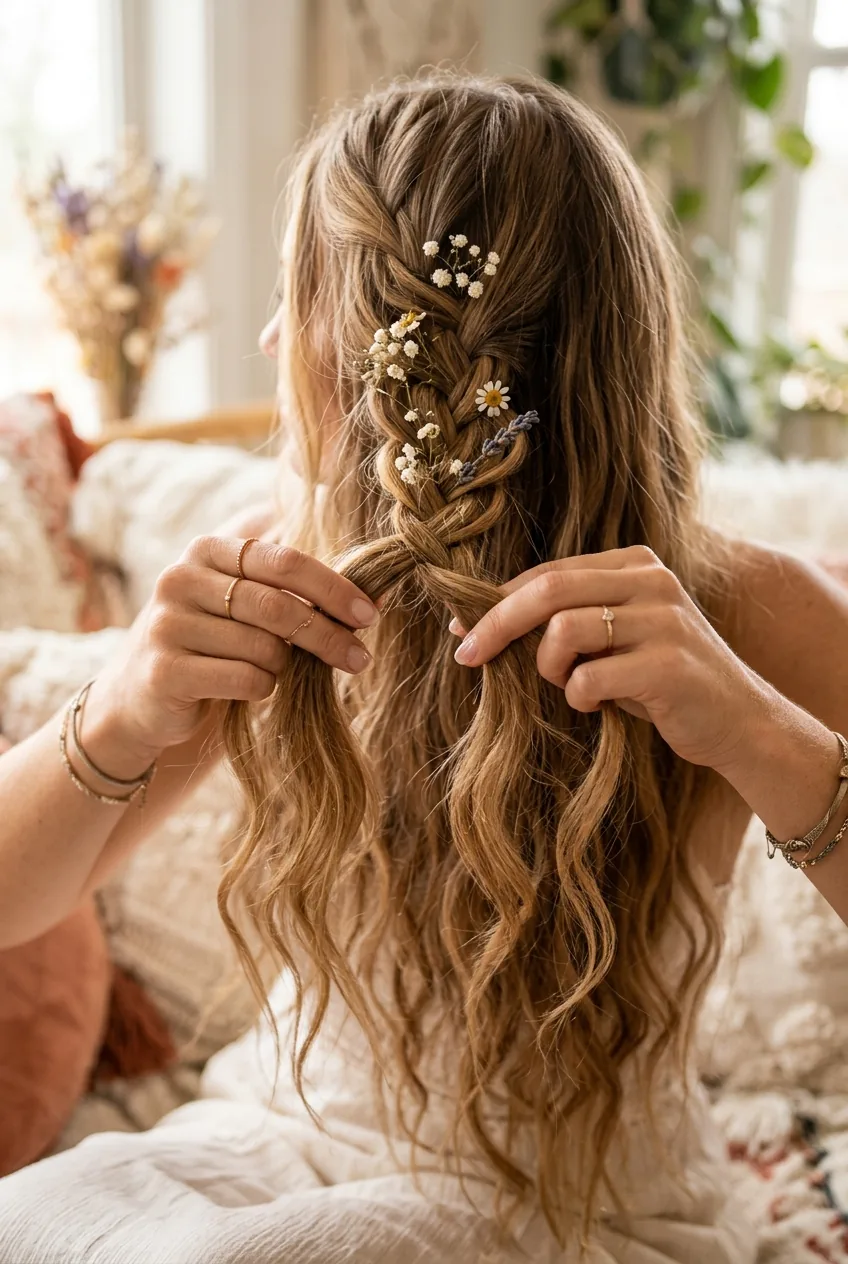
This is my absolute favorite way to finish any braided style because it adds movement and keeps things from looking too structured. The waterfall technique lets pieces of hair flow freely while still maintaining the braided elements.
Start with any of the braiding techniques we’ve covered, but instead of incorporating every strand, let some pieces fall freely as you work. It’s like you’re creating windows in your braid where natural hair can cascade through.
I love adding colorful hair accessories like small flowers or beads to the loose sections. It gives you that effortless festival vibe that somehow works for everything from brunch dates to evening events.
The final result should look intentionally undone — like you just rolled out of bed looking absolutely perfect. These textured, lived-in styles are having such a moment right now.
After months of experimenting with these vibrant braided styles, I’ve completely transformed my hair routine. What used to be a boring ponytail day now becomes an opportunity to play with color and texture. My friends constantly ask me where I got my hair done, and I love telling them I did it myself in my bathroom mirror.
The best part? Once you master these techniques, you can mix and match them endlessly. I’ve never worn the same braided style twice, and honestly, that variety keeps me excited about doing my hair every single day.