I’ll be honest — my first attempt at pastel hair was a complete disaster. What should have been dreamy lavender turned into muddy gray-green that made me look like I hadn’t slept in weeks. But after three years of experimenting (and a few more disasters), I finally cracked the code to getting those soft, ethereal pastel shades that everyone’s obsessing over.
The thing about pastel hair color is that it’s unforgiving. One wrong move and you’re stuck with something that looks more like a mistake than a style statement.
Your Pastel Hair Transformation Roadmap
What You’ll Need for Perfect Pastels
Let me save you some money and heartache. You don’t need every single product the beauty store tries to sell you, but you absolutely cannot skimp on these essentials.
- High-quality bleach powder (I swear by Wella Blondor)
- 20 or 30 volume developer (never go higher for pastels)
- Semi-permanent pastel dye in your chosen shade
- Deep conditioning treatment
- Purple or blue shampoo
- Tinting brush and mixing bowl
- Foil sheets (trust me on this one)
- Plastic gloves that actually fit
- Sectioning clips
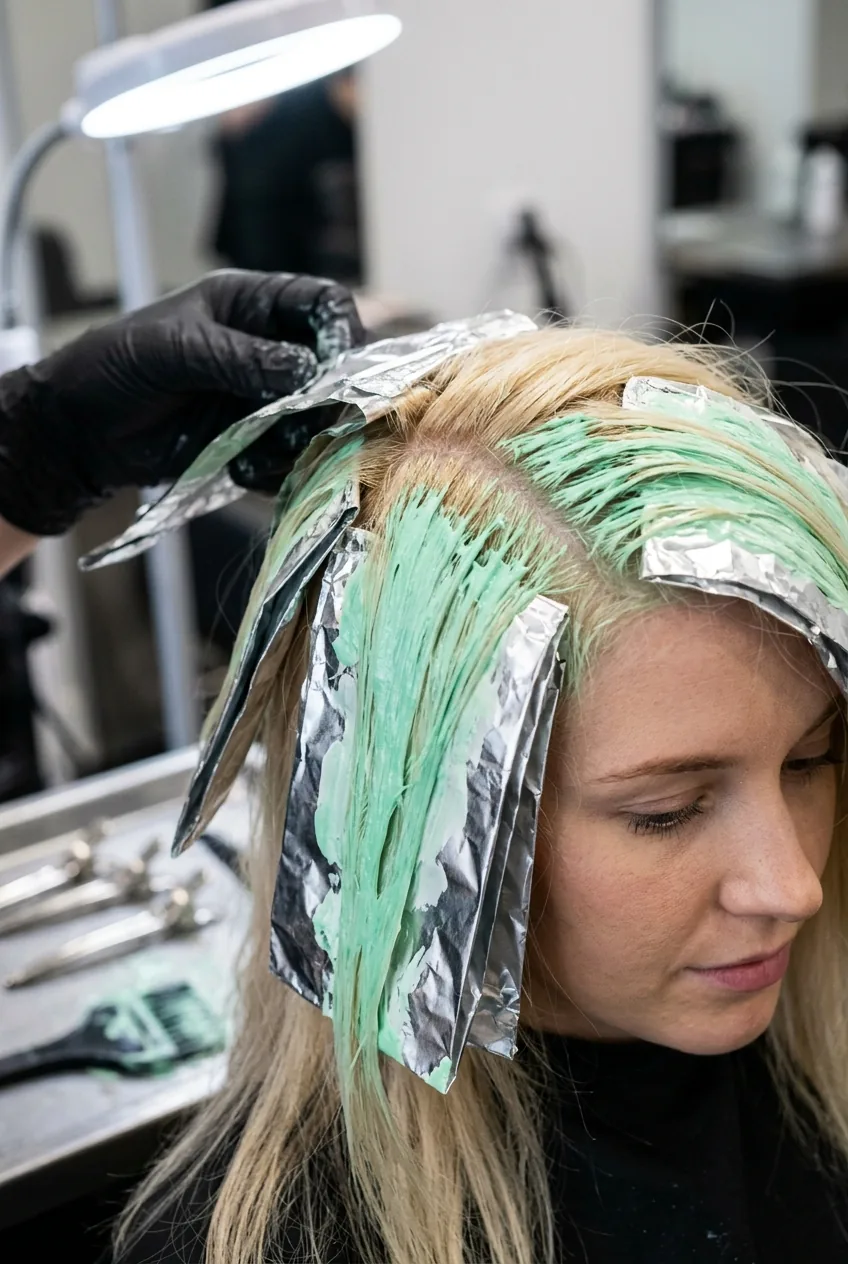
The foil sheets are non-negotiable. I learned this the hard way when I tried to wing it with plastic wrap. What a mess.
Prep Your Hair Like a Pro
This step separates the girls who get salon-quality results from those who end up crying in their bathroom. Start prepping your hair at least two weeks before you plan to color.
Stop washing your hair every day if you haven’t already. I know it sounds gross, but your scalp’s natural oils create a protective barrier that prevents chemical burns. Wash every other day max, and use a color-safe shampoo that complements your skin tone to prep for the new hue.
Deep condition twice a week. Seriously. Bleaching is about to put your hair through hell, so you want it as healthy as possible going in. I like to do a protein treatment one week, then a moisture treatment the next.
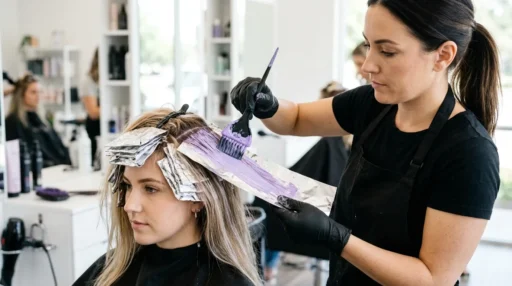
Lightening Without the Damage Drama
Here’s where most people mess up. They think they need to get their hair white-blonde to achieve pastels. Wrong. You need to hit that perfect pale yellow stage — what colorists call “level 9” or “level 10.”
Mix your bleach and developer in a 1:2 ratio. Start from the mid-lengths and work down to the ends first — your roots process faster because of the heat from your scalp. This was a game-changer for me because it prevents that horrible banded look.
My biggest mistake? Rushing the lightening process. I tried to go from dark brown to platinum in one session and ended up with hair that felt like straw. Take your time, do multiple sessions if needed. Your hair will thank you.
Check your hair every 15 minutes. When it reaches that pale yellow stage (think the inside of a banana), rinse immediately. Don’t get greedy and try to push it whiter — that’s how you end up with breakage.
Choose Your Pastel Shade Wisely
Not all pastels are created equal, and this is where understanding color theory becomes your best friend. Cool-toned pastels like lavender and mint work better on hair with yellow undertones, while warm pastels like peach need a more neutral base.
I’ve tried probably every pastel shade on the market, and my personal favorites are Manic Panic’s “Virgin Snow” mixed with any of their bright colors, or Arctic Fox for longer-lasting results. The key is starting with a high-quality white base and adding just drops of color until you get your desired shade.
Test your mixture on a hidden strand first. Always. I can’t tell you how many times this small step saved me from a full-head disaster.
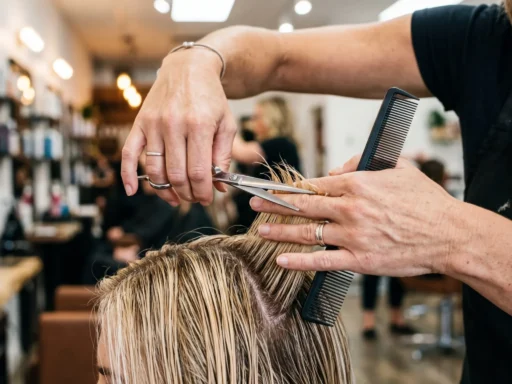
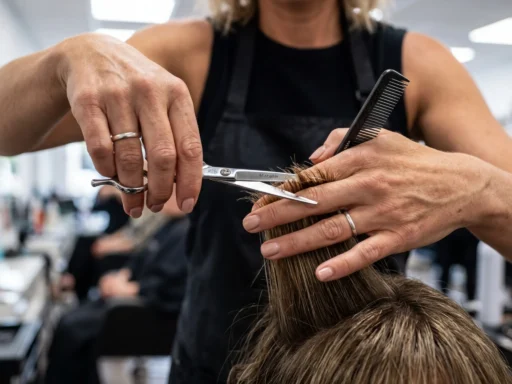
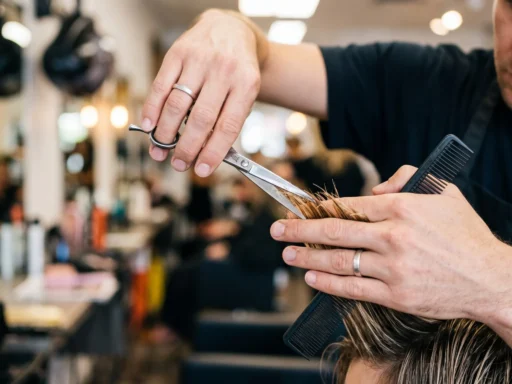
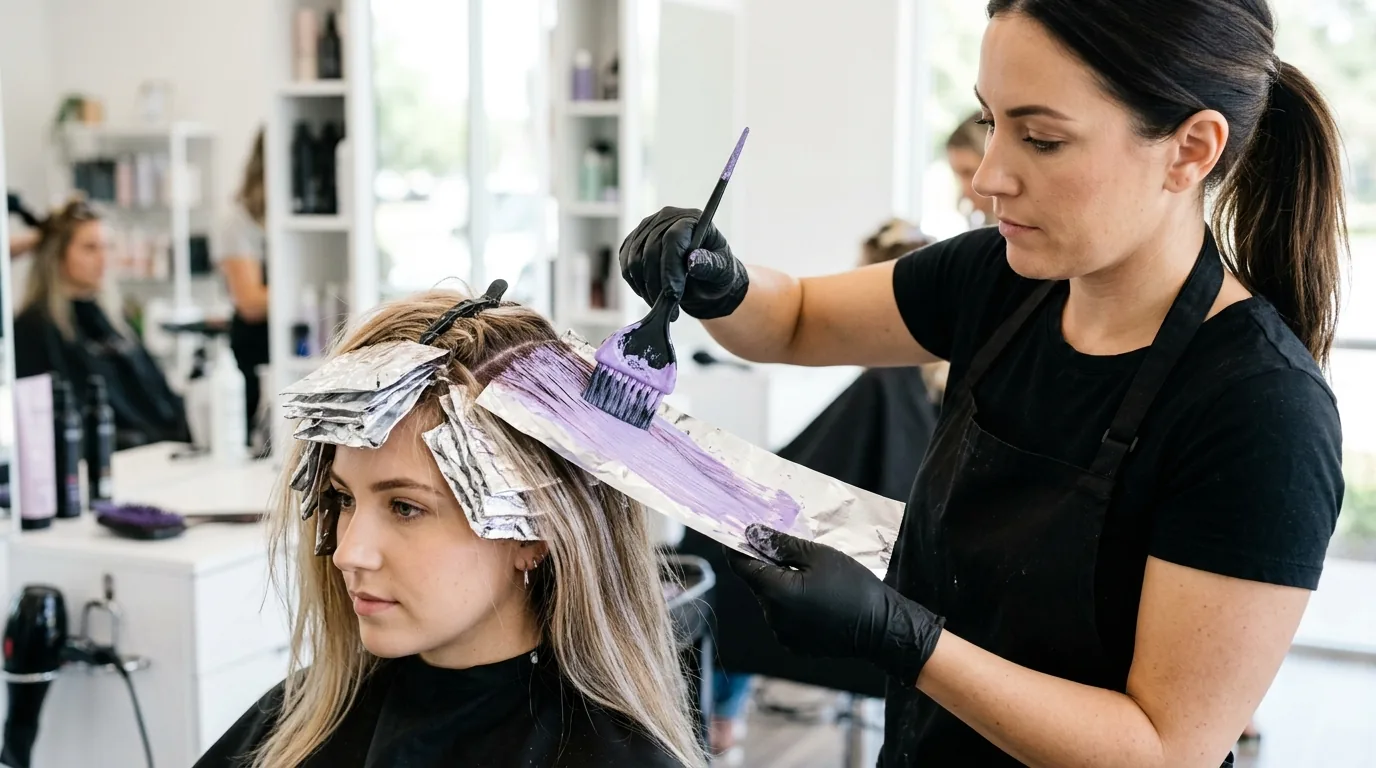
The Application That Changes Everything
This is where the magic happens, and honestly, where I see most people give up too early. The secret is in the sectioning and the saturation.
Part your hair into four equal sections using your clips. Start at the back because you can’t see it as well, so any mistakes are less noticeable. Take thin sections — about the width of your comb — and saturate each piece completely.
Here’s the technique that changed everything for me: instead of just painting the color on, I work it through each section with my fingers (gloved, obviously). This ensures every strand gets coated and prevents those streaky patches that scream “DIY gone wrong.”
Work fast but don’t panic. Most semi-permanent colors give you plenty of working time, unlike permanent dyes. If you’re doing multiple colors or an ombre effect, this is where those foil sheets come in handy to separate sections.
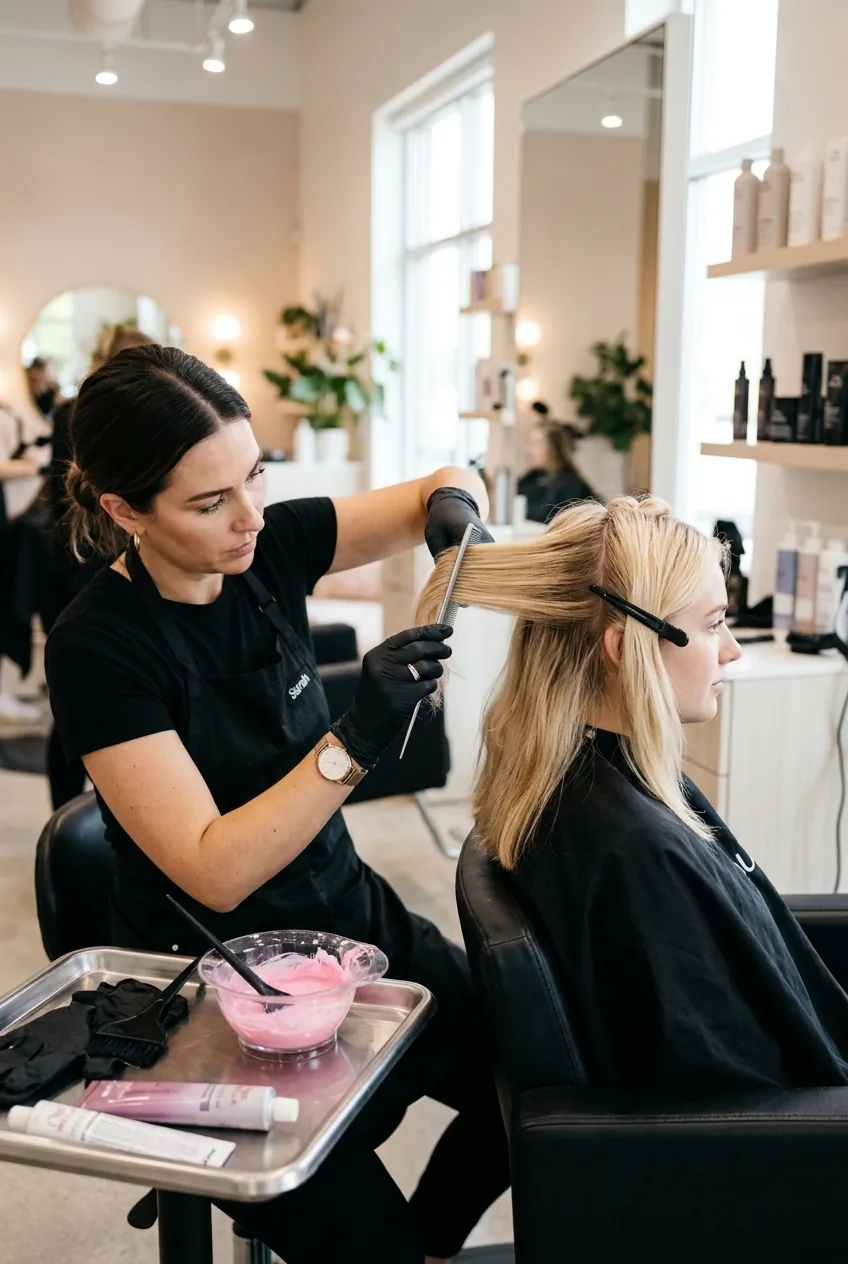
Watch the Sectioning Technique Live
Toning for That Instagram-Worthy Finish
This step is optional but makes the difference between “pretty good” and “absolutely stunning.” After your pastel color has processed and you’ve rinsed it out, you might notice it’s not quite the shade you envisioned.
A light toner can correct any unwanted undertones and make your pastels pop. I usually mix a tiny bit of purple shampoo with my regular conditioner for a gentle toning effect. Leave it on for 5-10 minutes max — pastels are delicate and you don’t want to muddy them.
Color theory principles really come into play here. If your pink looks too orange, a tiny bit of blue-based toner will neutralize it. If your lavender looks too gray, a hint of pink will warm it up.
Aftercare That Actually Works
Let’s talk about the elephant in the room — pastel hair fades. Fast. But with the right aftercare routine, you can extend that gorgeous color for weeks instead of days.
Wash your hair with cold water. I know it’s not fun, especially in winter, but hot water opens the hair cuticle and literally rinses your color down the drain. Cold water keeps those cuticles sealed tight.
Invest in a color-depositing shampoo that matches your shade. I refresh my pastels every few washes with a diluted version of my original color mix. Just mix a small amount with your conditioner and let it sit for a few minutes.
Skip the heat styling when possible. Those flat irons and curling wands are color killers. When you must style with heat, use a thermal protectant and keep the temperature below 300°F.
When to Call a Professional
Look, I’m all for DIY beauty, but there are times when you need to admit defeat and call in the experts. If your hair is already damaged, if you’re going from very dark to very light, or if you want multiple pastel shades in one session, book that salon appointment.
I learned this lesson the hard way when I tried to do a rainbow pastel ombre on already-bleached hair. The results were… not Instagram-worthy. Sometimes the investment in a professional is worth it, especially if you’re dealing with a major color transformation that could go wrong in expensive ways.
Professional consultation can save you from costly mistakes and help you achieve the exact shade you’re dreaming of.
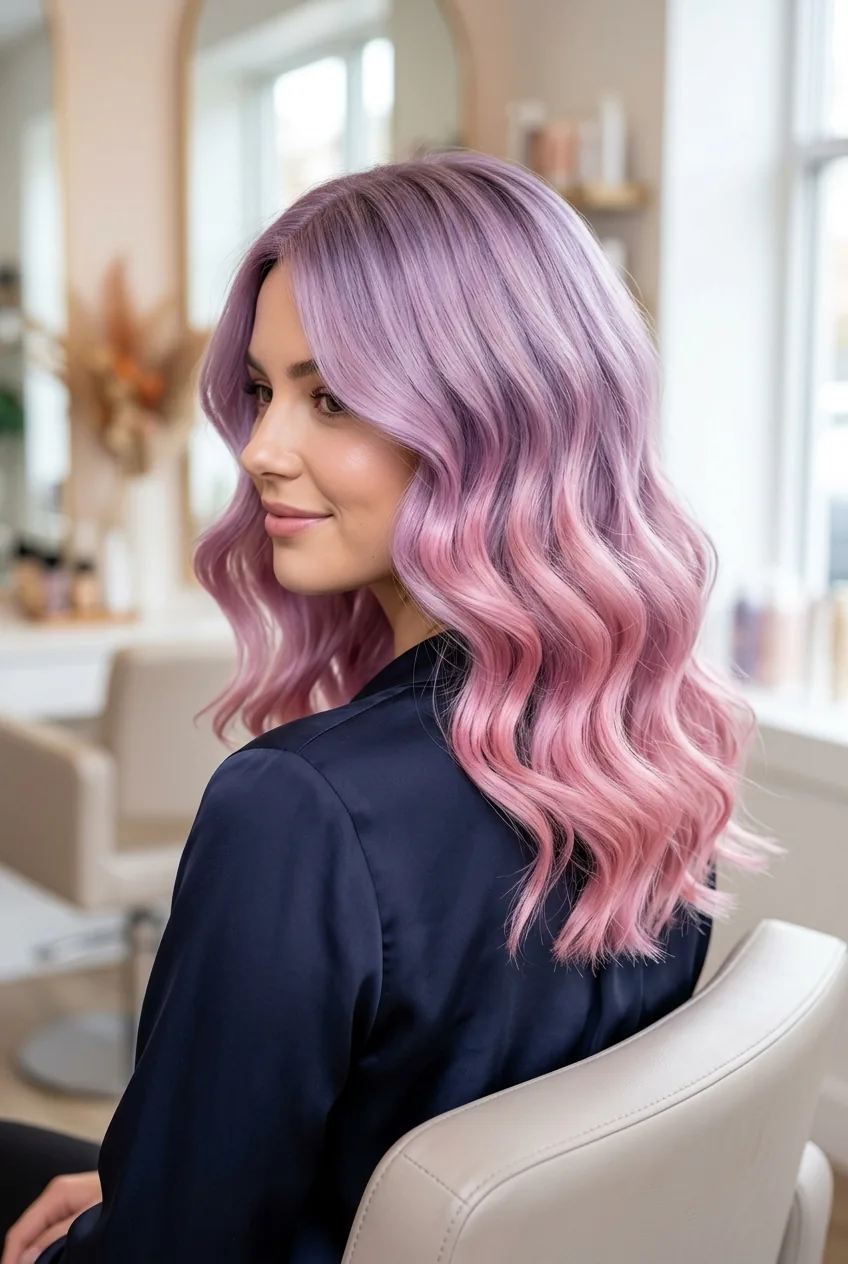
After three years of trial and error (and more than a few hair masks), I finally have the pastel hair routine that works. My current lavender-to-silver ombre has lasted six weeks with minimal fading, and I get compliments everywhere I go. The key is patience, preparation, and not being afraid to start over if something goes wrong.
Trust me, when you nail that perfect pastel shade, all the effort is worth it. There’s something magical about catching your reflection and seeing that dreamy, ethereal color that makes you feel like a fairy tale character come to life.