
I spent two years chasing the perfect pastel hair color after seeing a girl with the most gorgeous lavender bob at a coffee shop. Her hair looked like spun sugar — soft, dimensional, and somehow still healthy. I was obsessed. But every attempt left me with patchy, faded disaster that looked more like a mistake than a statement.
What You’ll Need
Let me save you the trial-and-error headaches I went through. Here’s everything I wish I’d gathered from day one:
- Level 40 volume developer (20 vol won’t cut it for pastels)
- Powder bleach — I swear by Wella Blondor
- Semi-permanent pastel dye (Arctic Fox, Manic Panic, or Pravana)
- Toner in 10V or similar (this step is non-negotiable)
- Deep conditioning mask
- Foil sheets and application brush
- Nitrile gloves — the thick ones
- Old towels you don’t mind staining forever
And honestly? Get more dye than you think you need. I ran out halfway through my first attempt and the color match was… not great.
Step 1: Prepping Your Hair Canvas
The biggest mistake I see people make is jumping straight into bleaching. Your hair needs to be in fighting shape first.
I start with a clarifying shampoo two days before. This strips away product buildup that can interfere with bleach penetration. Then I do a deep conditioning treatment — think of it as armor for what’s coming next.
Don’t wash your hair the day of bleaching. That natural oil buildup actually protects your scalp from irritation. I learned this the hard way when my scalp felt like it was on fire during my second attempt.
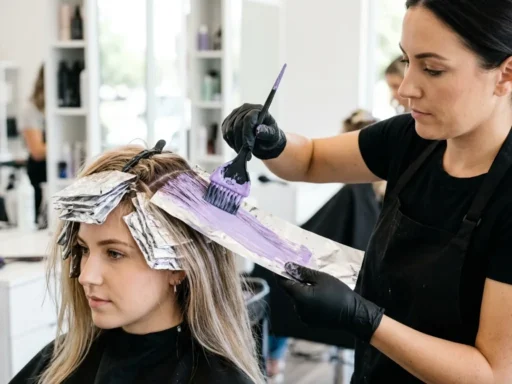
Step 2: The Bleaching Game-Changer
Here’s what nobody tells you: pastel colors need your hair to be almost white. Not yellow, not pale orange — white. I wasted so much dye trying to get pastels to show up on level 8 hair.
Mix your bleach in small batches. I use a 1:2 ratio of powder to developer, and I work in sections no bigger than my palm. The foil technique keeps everything controlled and prevents overlap bleeding.
My biggest bleaching disaster happened when I got impatient and tried to speed up the process with heat. The result? Fried ends and uneven lifting that took months to grow out. Low and slow wins this race every time.
Process time varies, but I usually hit the white stage around 45-60 minutes. Your hair should feel like wet cotton when it’s ready — soft but with zero stretch.
Step 3: Choosing Your Pastel Shade
This is where it gets fun. But also where I made some questionable choices early on.
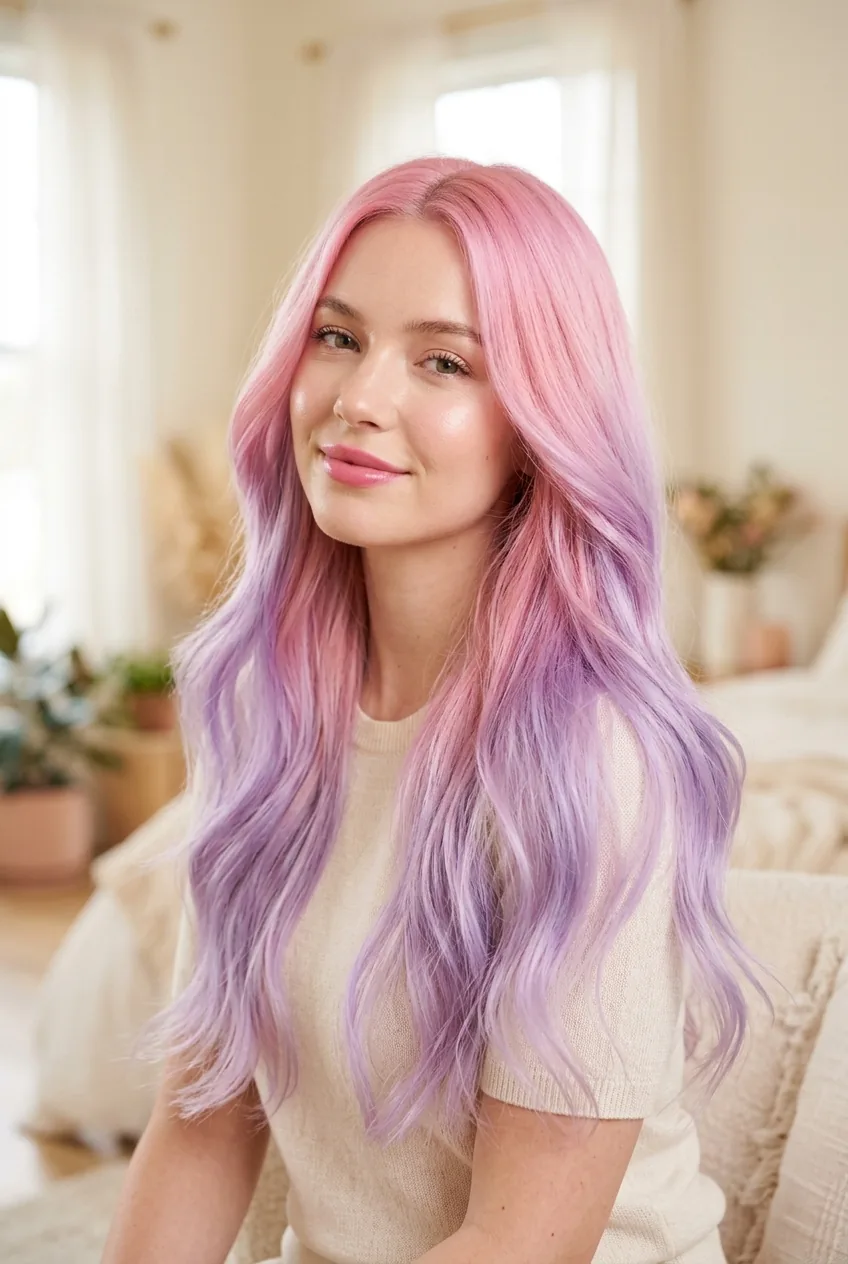
Cool-toned pastels like lavender and mint green are the most forgiving. They hide brassiness better than warm pastels like peach or coral. If you’re starting with darker hair, stick with the cool family first.
I always test colors on a hidden section first. Mix a tiny amount of dye with white conditioner to see how it translates on your specific hair texture. What looks cotton candy pink in the bottle might pull more salmon on your hair.
And here’s something I wish I’d known: bold hair color transformations often start with understanding your undertones. If you have golden undertones, purple-based pastels will complement you beautifully.
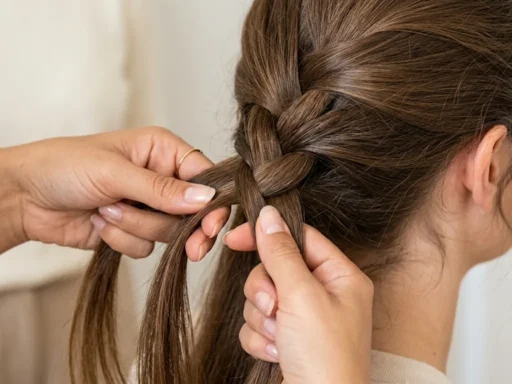
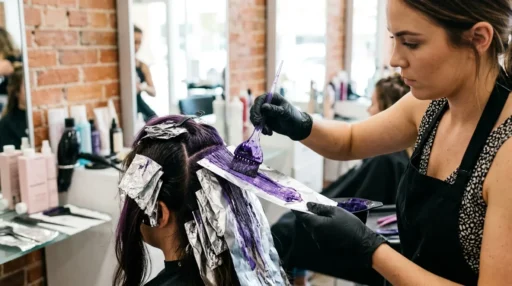
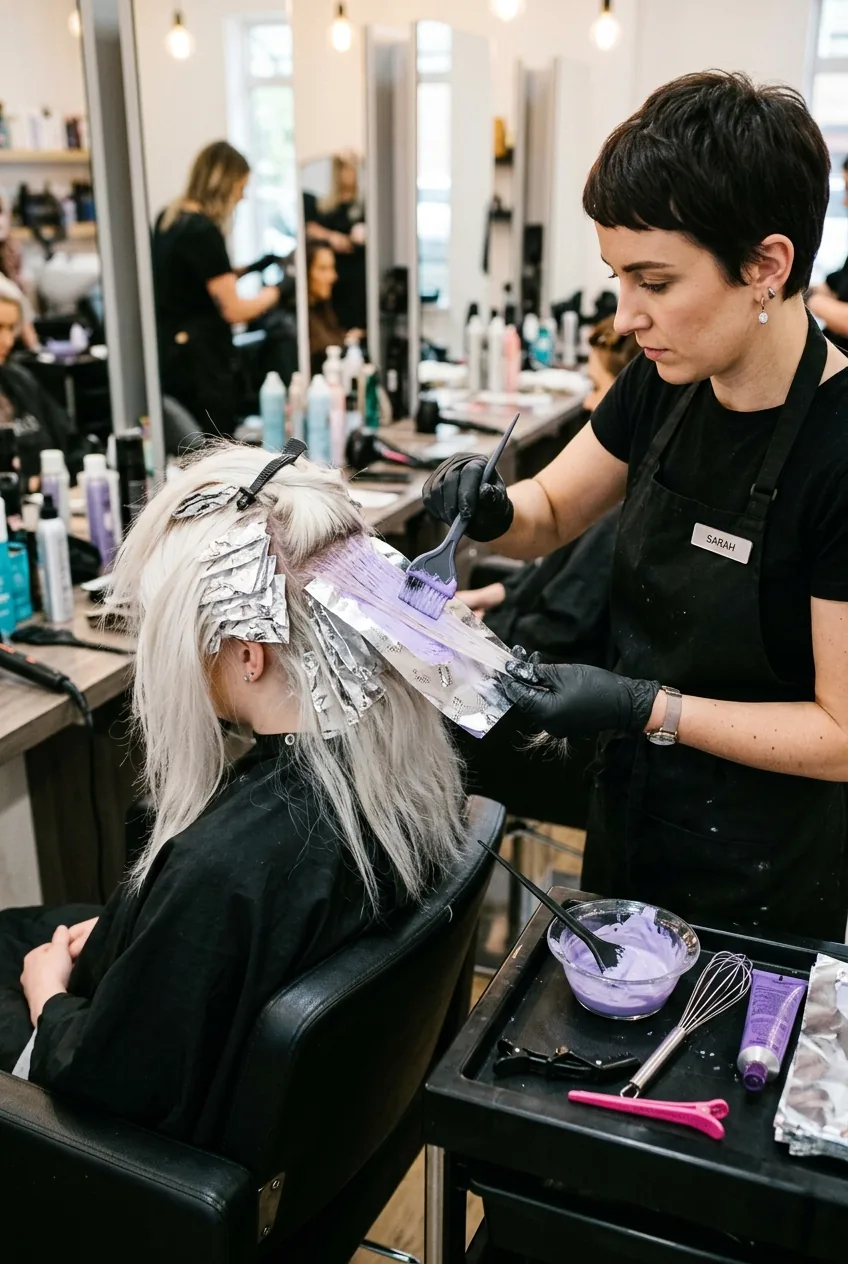
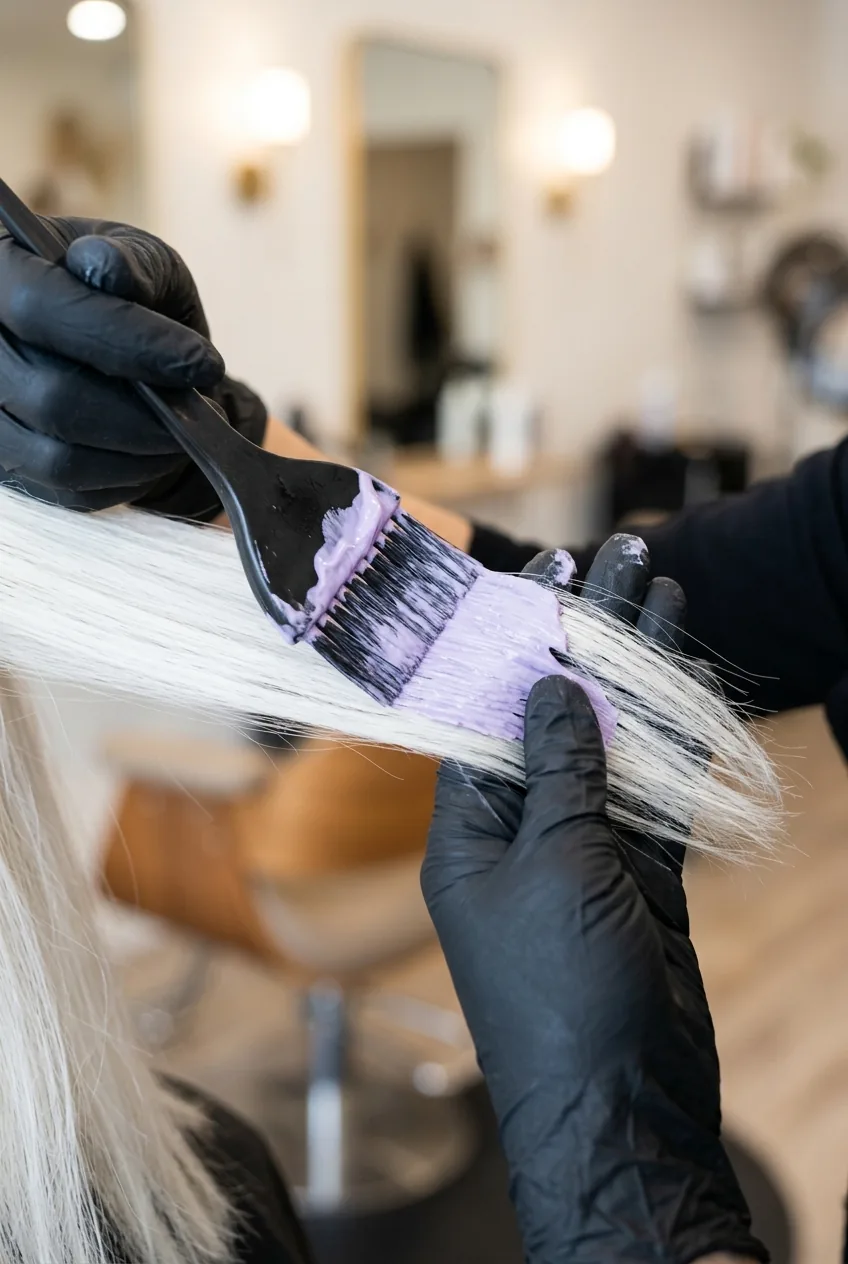
Step 4: Application Techniques That Work
The application method makes or breaks pastel hair color. I’ve tried every technique and this one consistently gives me the most even, salon-quality results.
Work with damp hair — not soaking, just barely towel-dried. The moisture helps the color spread more evenly and prevents hot spots. I section my hair into quarters and work from back to front.
Use way more product than feels logical. Pastels need saturation to show up properly. I go through about 4 ounces for shoulder-length hair, which feels excessive but gives me that dreamy, opaque coverage.
The processing time is crucial here. Most people rinse too early. I leave pastel dye on for at least 2 hours, sometimes overnight if I’m using Arctic Fox. Semi-permanent formulas need time to really penetrate.
Watch the Pro Technique in Action
Step 5: Making Colors Last Longer
This is where I finally cracked the code on long-lasting pastel hair color. The secret isn’t in the dye — it’s in everything you do after.
Cold water rinses only. Hot water opens the hair cuticle and lets color molecules escape. I know cold rinses aren’t fun, but they’re the difference between two weeks of color and two months.
I wash my hair twice a week maximum, using sulfate-free shampoo diluted with water. On non-wash days, dry shampoo is my best friend. The less you manipulate pastel hair, the longer it stays vibrant.
Here’s my game-changing maintenance trick: I mix a tiny amount of my pastel dye into my conditioner. Every few washes, I get a color refresh without the full process. It’s like a weekly tune-up for your shade.
UV protection is huge too. I use a leave-in treatment with SPF when I’m spending time outdoors. Sun fades pastels faster than anything else. Think of it like protecting a watercolor painting.
The results speak for themselves. My current lavender-to-silver ombre has held its vibrancy for three months. People still stop me on the street to ask about it. And the best part? My hair actually feels healthier than when I started, thanks to all the deep conditioning I built into the routine.
If you’re considering making the leap to pastels, just remember — it’s a process, not a quick fix. But when you nail it, the payoff is incredible. There’s something magical about catching your reflection and seeing cotton candy hair that actually looks intentional and gorgeous.